Requirements
The general requirements for installing the virtual machine (VM), which is based on the Kali Linux VM, on your Mac/Windows/Linux computing platform are:
- Disk: 8GB min - 16GB
- RAM: 4GB free minimum
- Processor: Dual Core Laptop Processor
Overview
There are three sets of instructions:
- Installing the Main VM - for Assignments 4, 5, and 6
- Installing the Forensics VM - for Assignment 6
- Linking the Forensics VM Virtual Disk on the Main VM - for Assignment 6
Installing the Main VM
- Download and install VirtualBox (https://www.virtualbox.org/wiki/Downloads). Select the appropriate platform under VirtualBox platform packages.
- Download the OVA (open virtualization appliance) COS 432 VM Distribution.ova from https://drive.google.com/open?id=1-kT7_CBCBjLWxu_bv4e7Oe2Kwd0hN3FI (about 2.5GB)
- Open VirtualBox
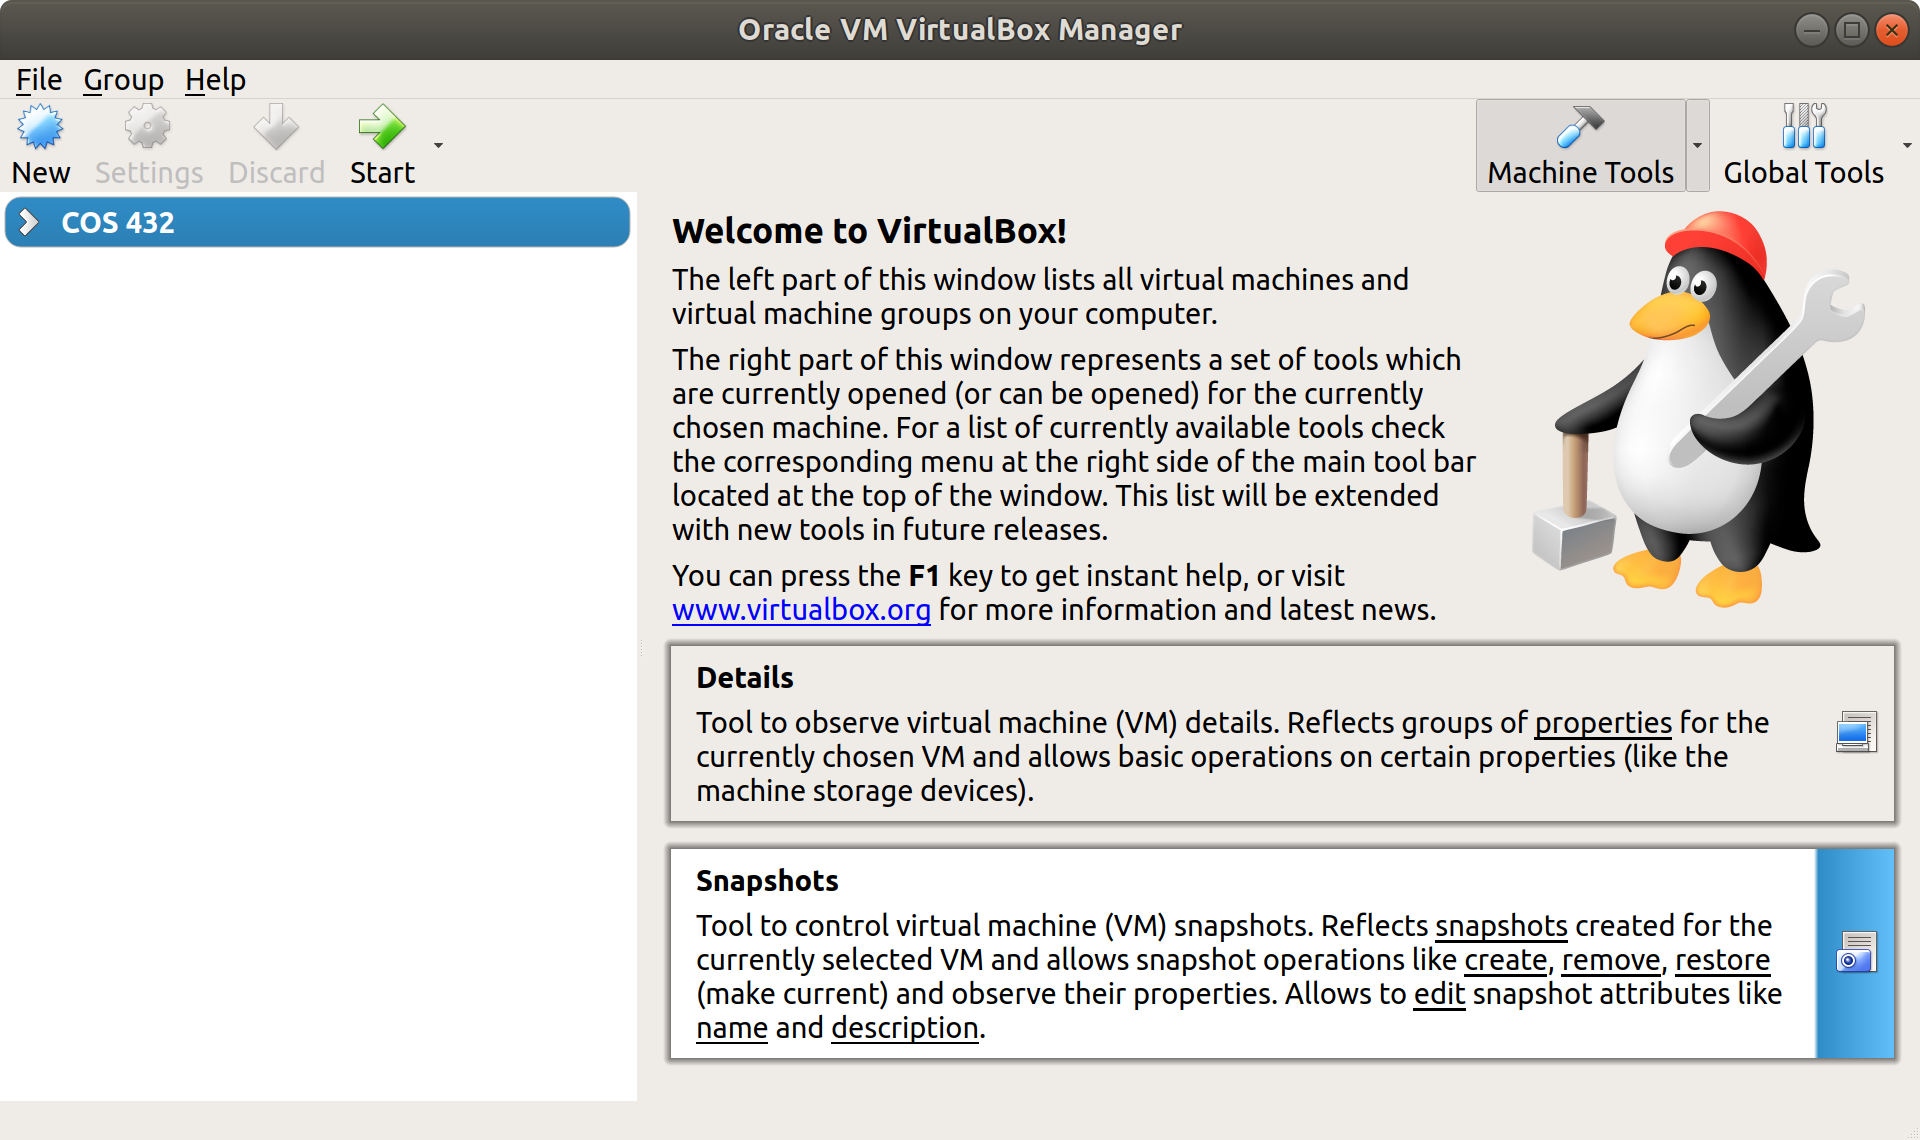
- Click File and then Import Appliance... Click the Folder icon
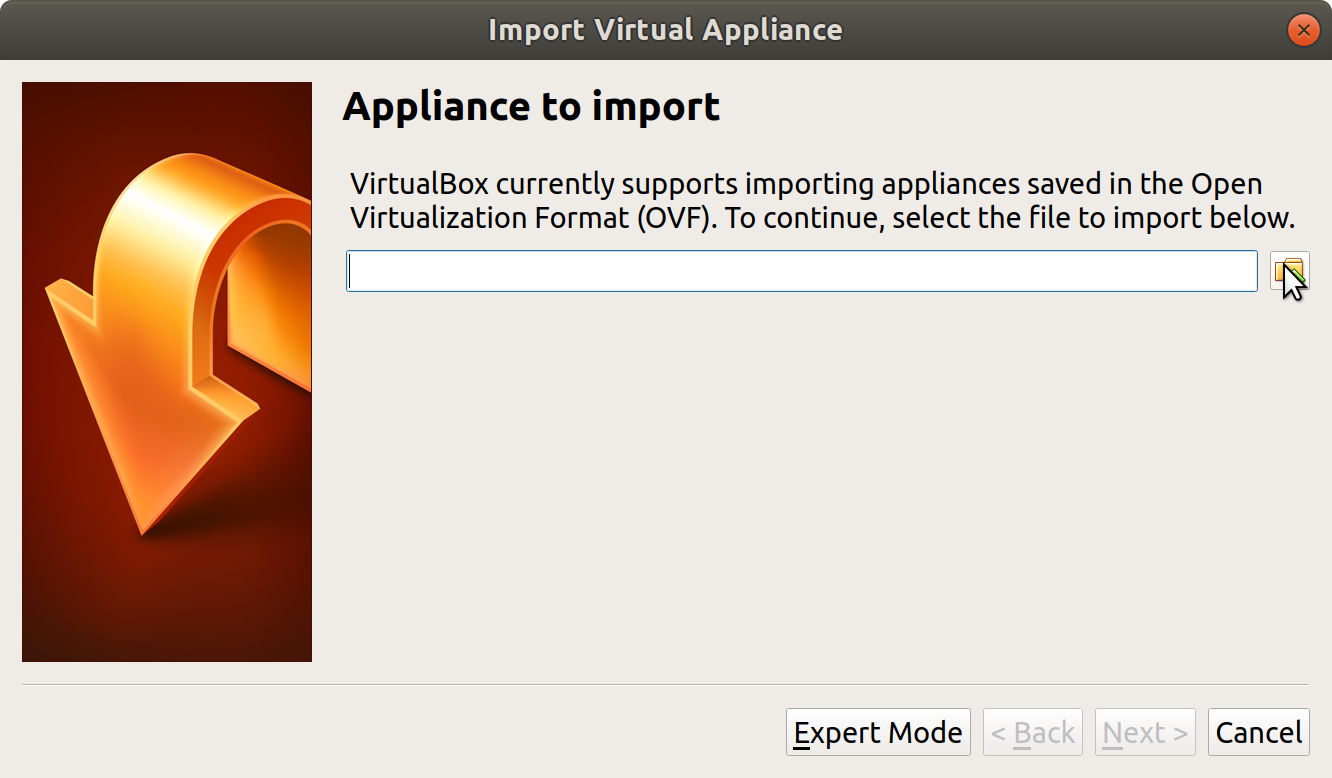
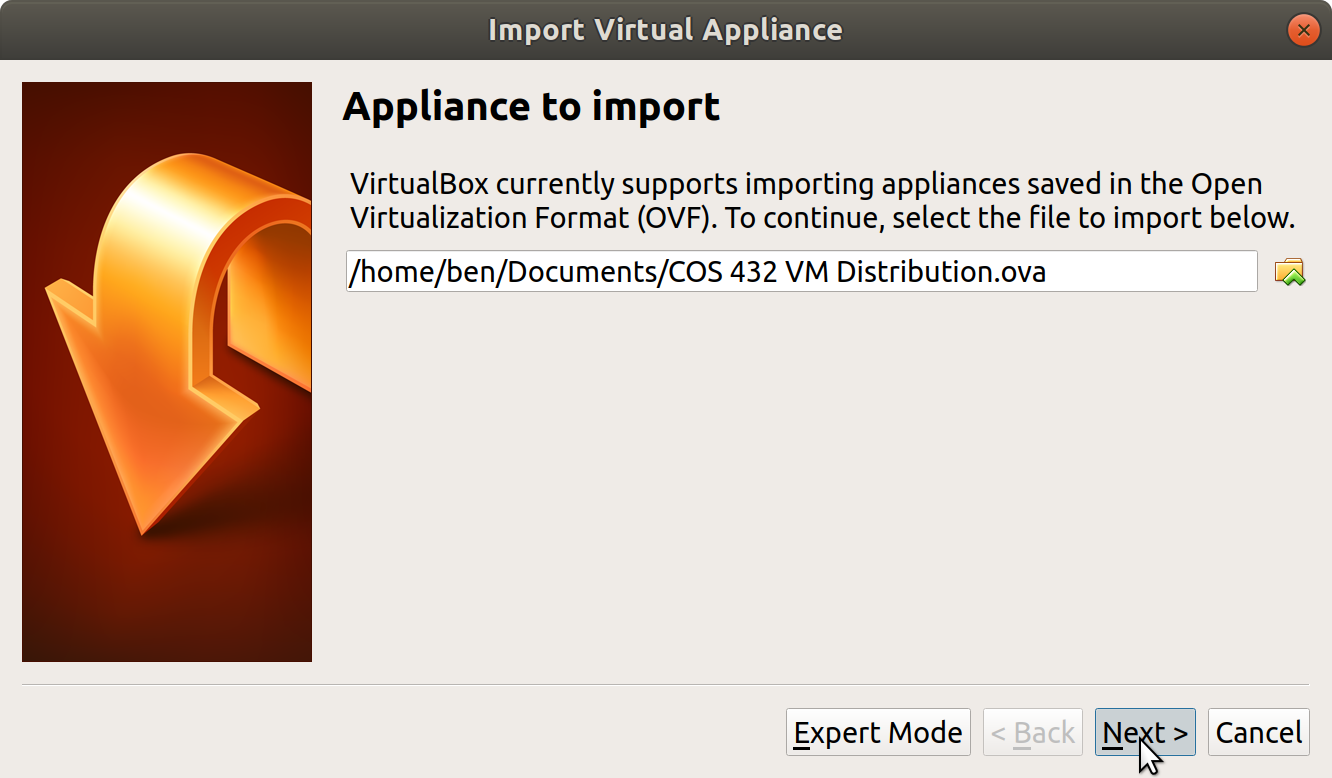
- Select the COS 432 VM Distribution.ova you previously downloaded. Note - you may have to nagiviate to the proper folder
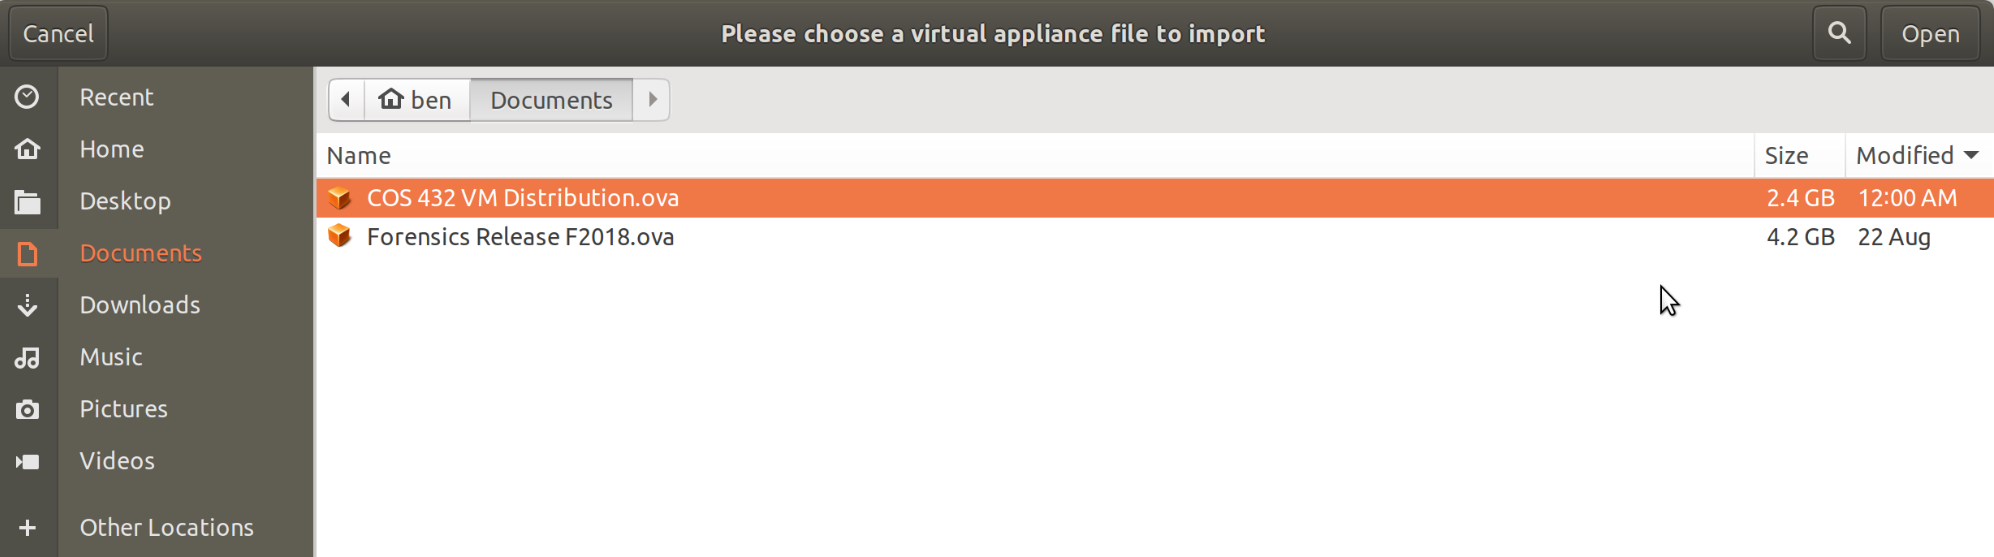
- Click Continue (or Next)
- Click Import
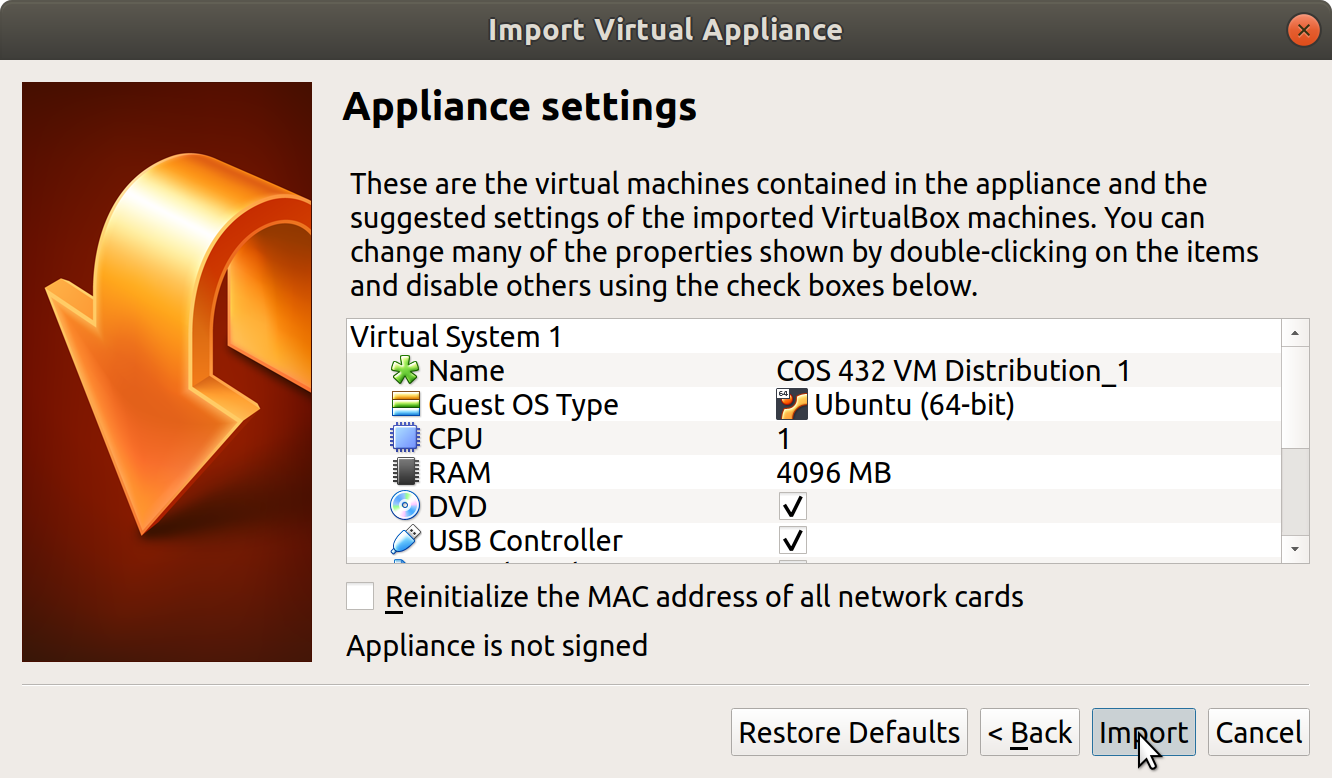
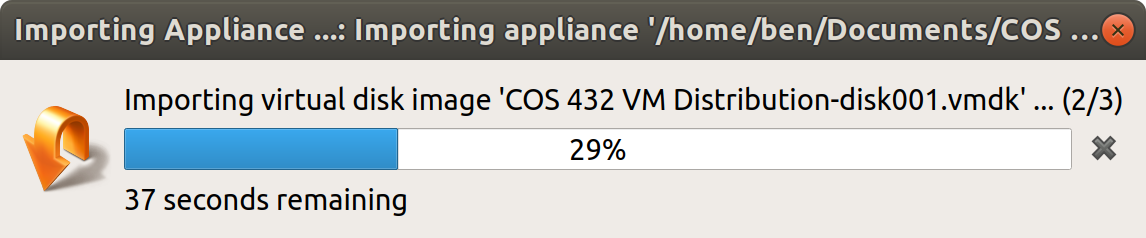
- Wait for the import to complete (this may take a few minutes)
- Select COS 432 VM Distribution
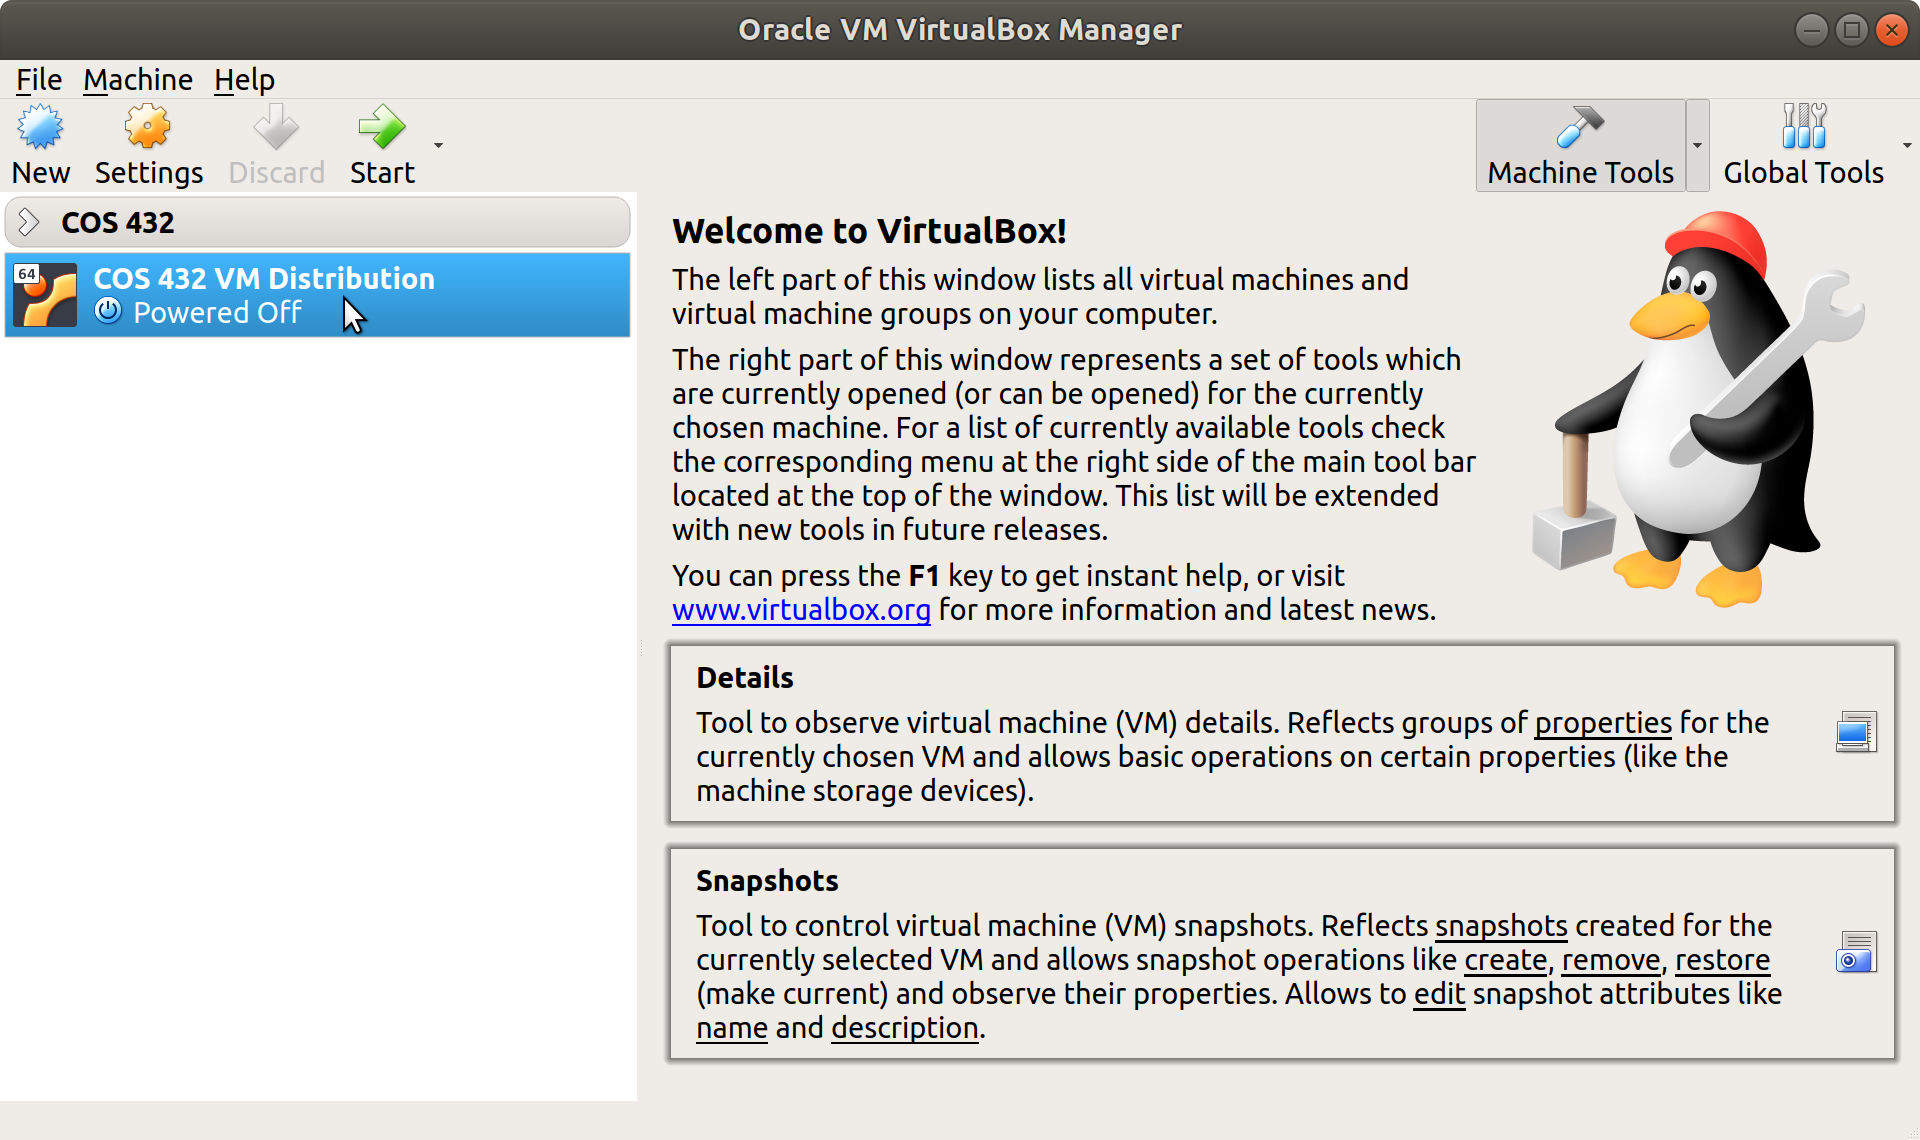
- Click Start
- this will boot the VM, which takes a few minutes

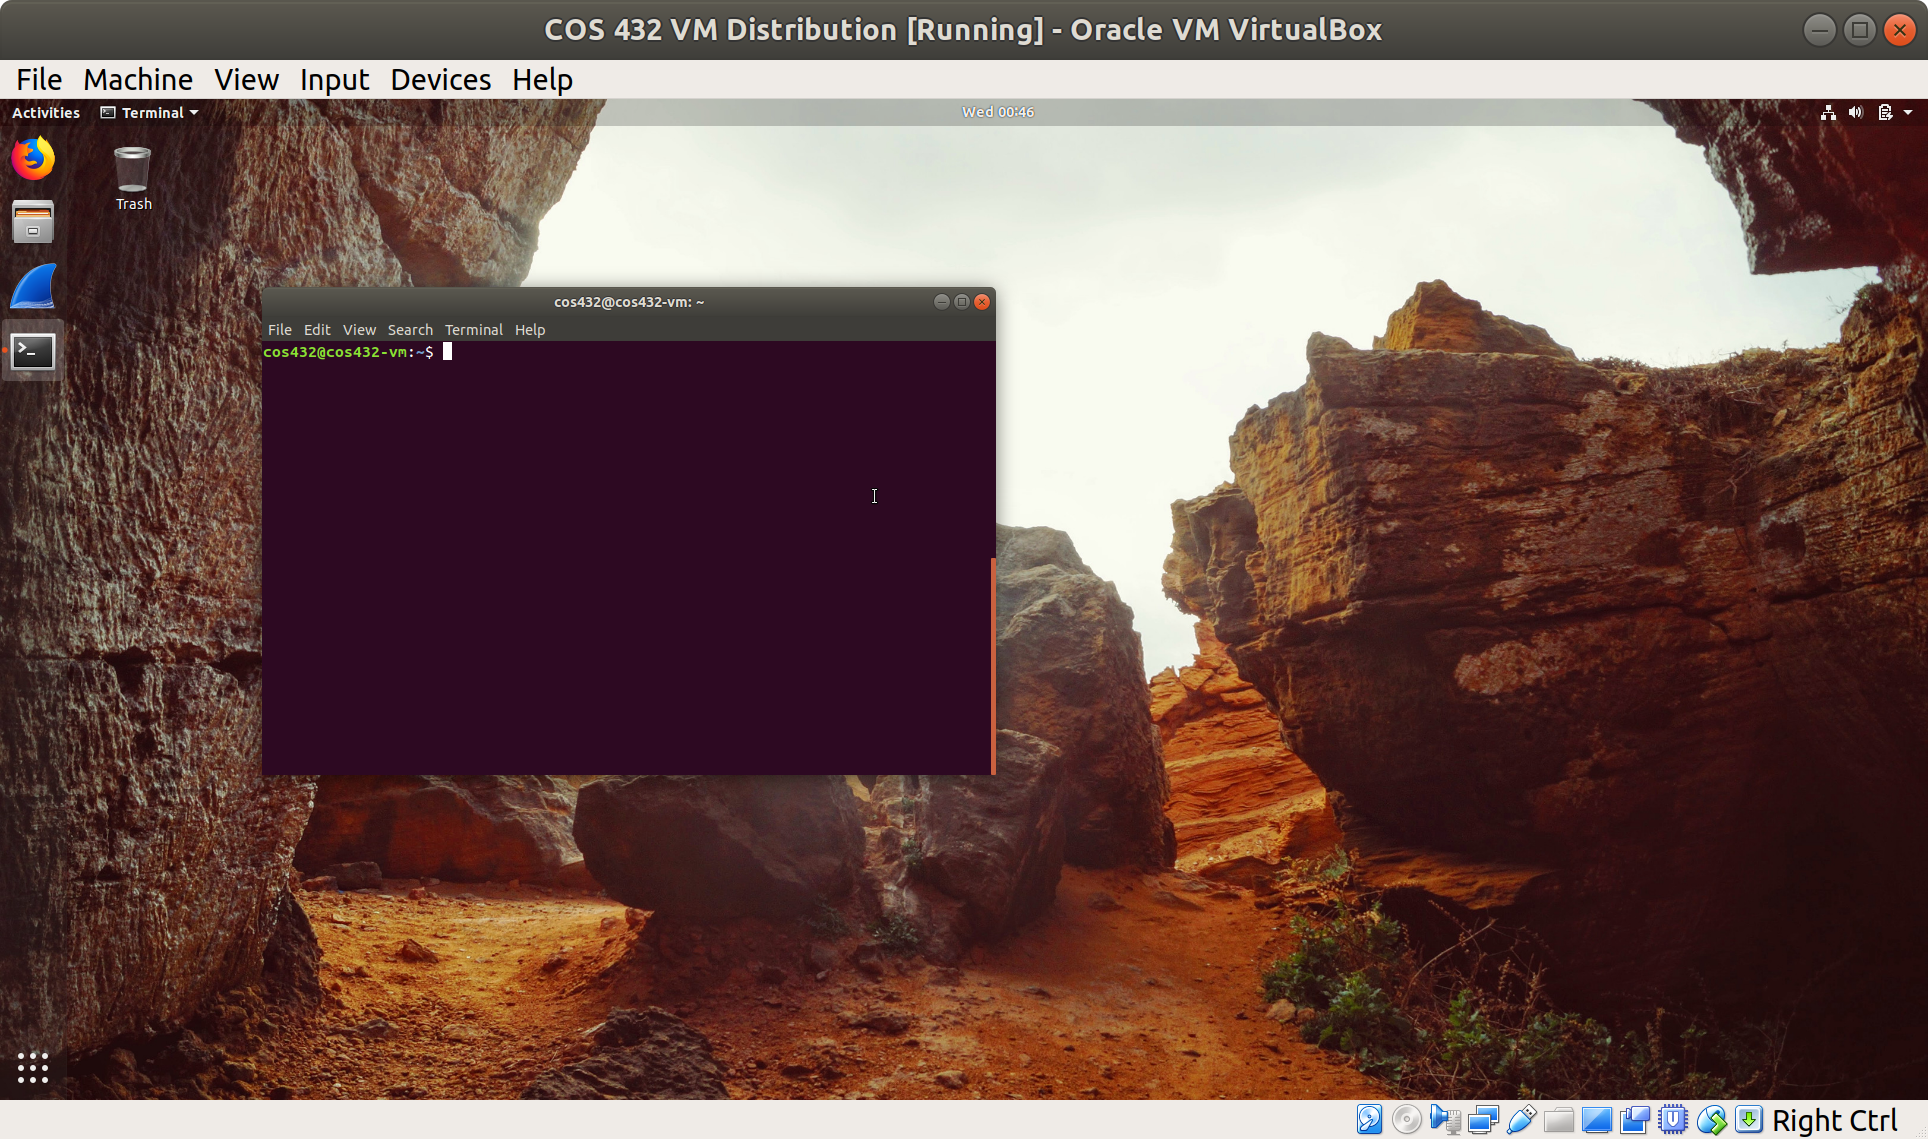
- After the VM has successfully booted, you will see the following desktop
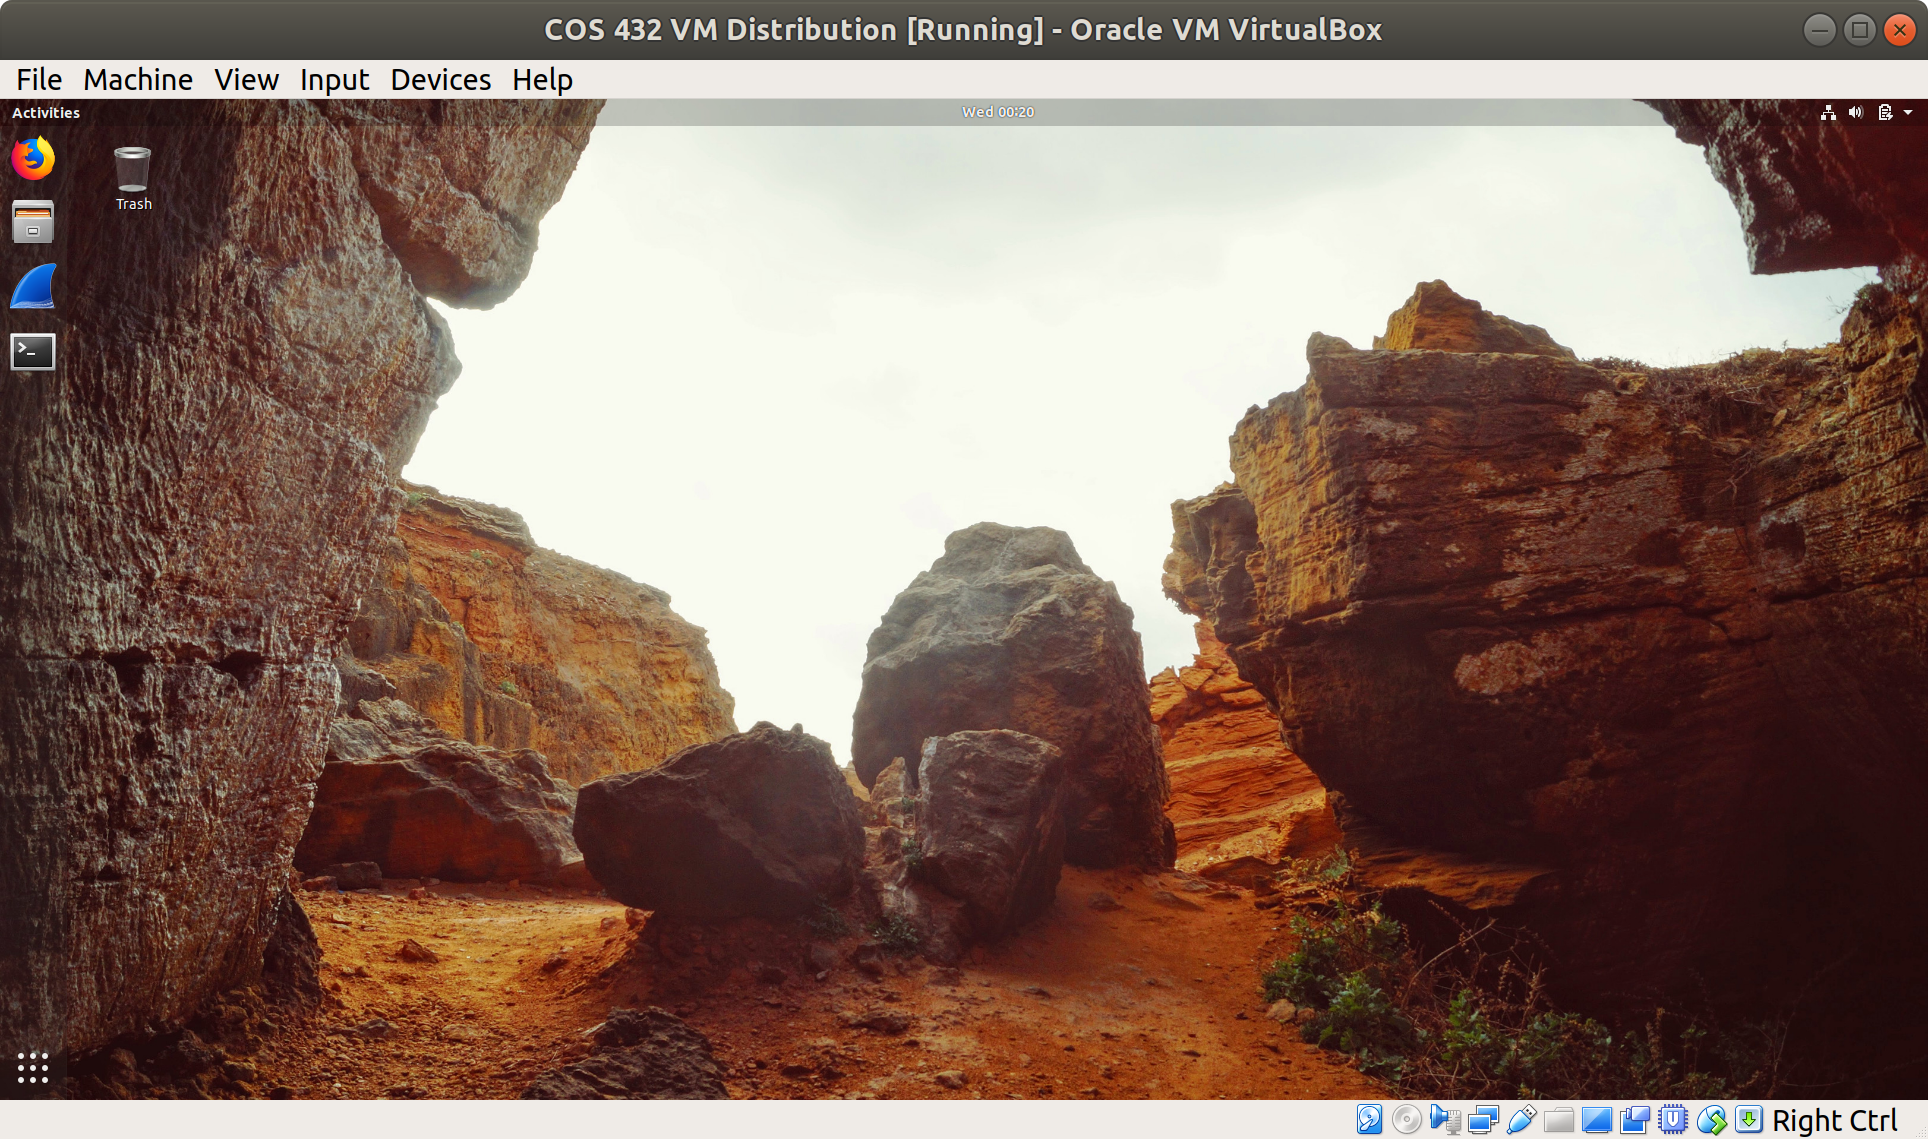
- The user account is:
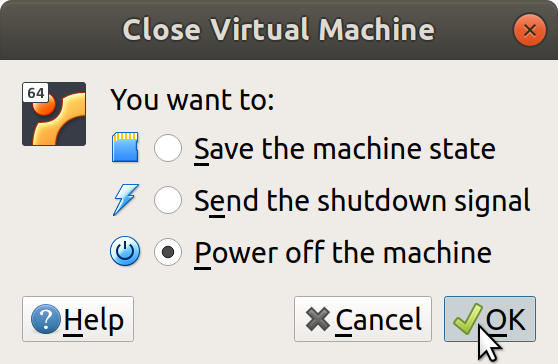
cos432and the password is:princeton - To shutdown the VM, first close the window (by clicking on the x). When prompted, select Power off machine and click OK

Installing the Forensics VM
- Download the OVA (open virtualization appliance) Forensics Release F2018.ova from https://goo.gl/kmPYmQ (about 4GB)
- Follow the same steps that you used to install the Main VM. However select the Forensics Release F2018.ova
you previously downloaded, instead of the COS 432 VM Distribution.ova. Note - you may have to nagiviate to the proper folder
Linking the Forensics VM Virtual Disk on the Main VM
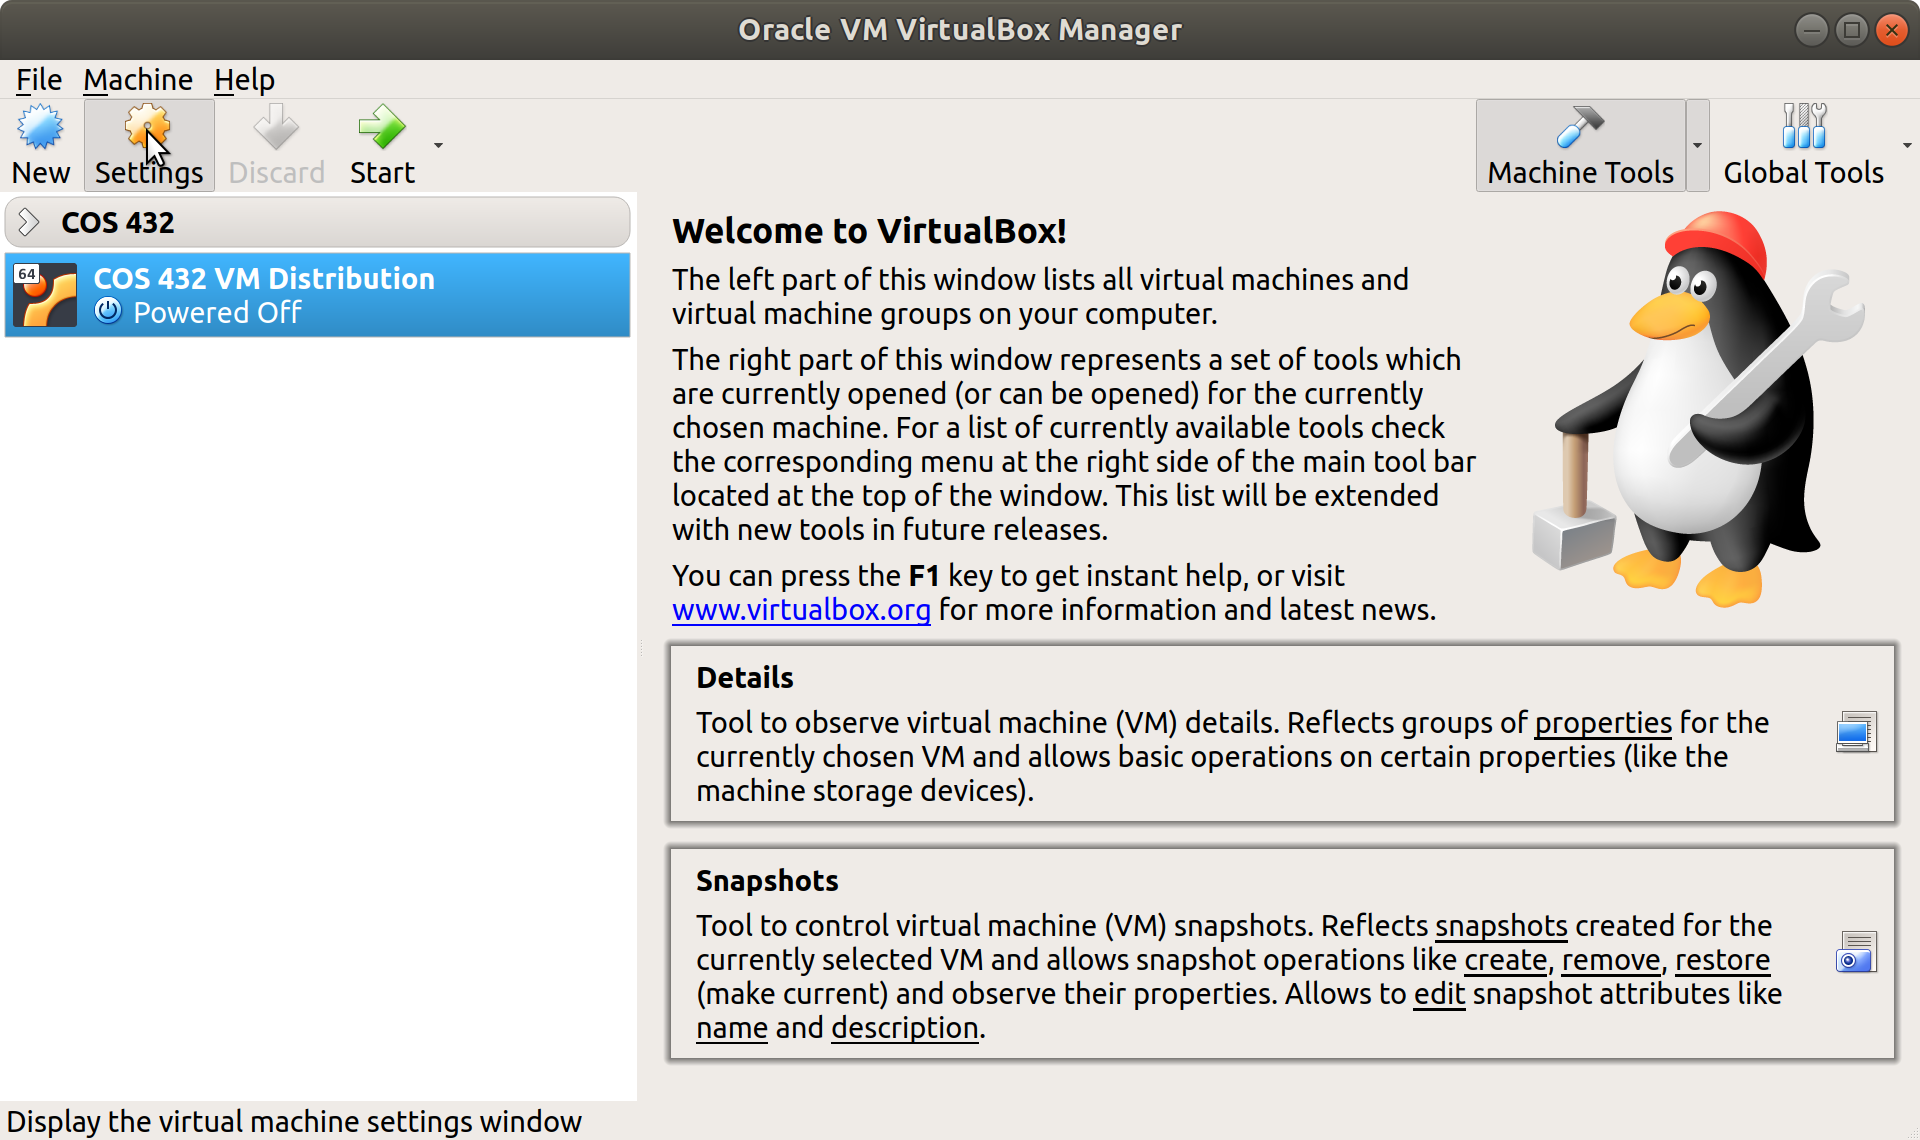
- Open VirtualBox and select the COS 432 VM Distribution
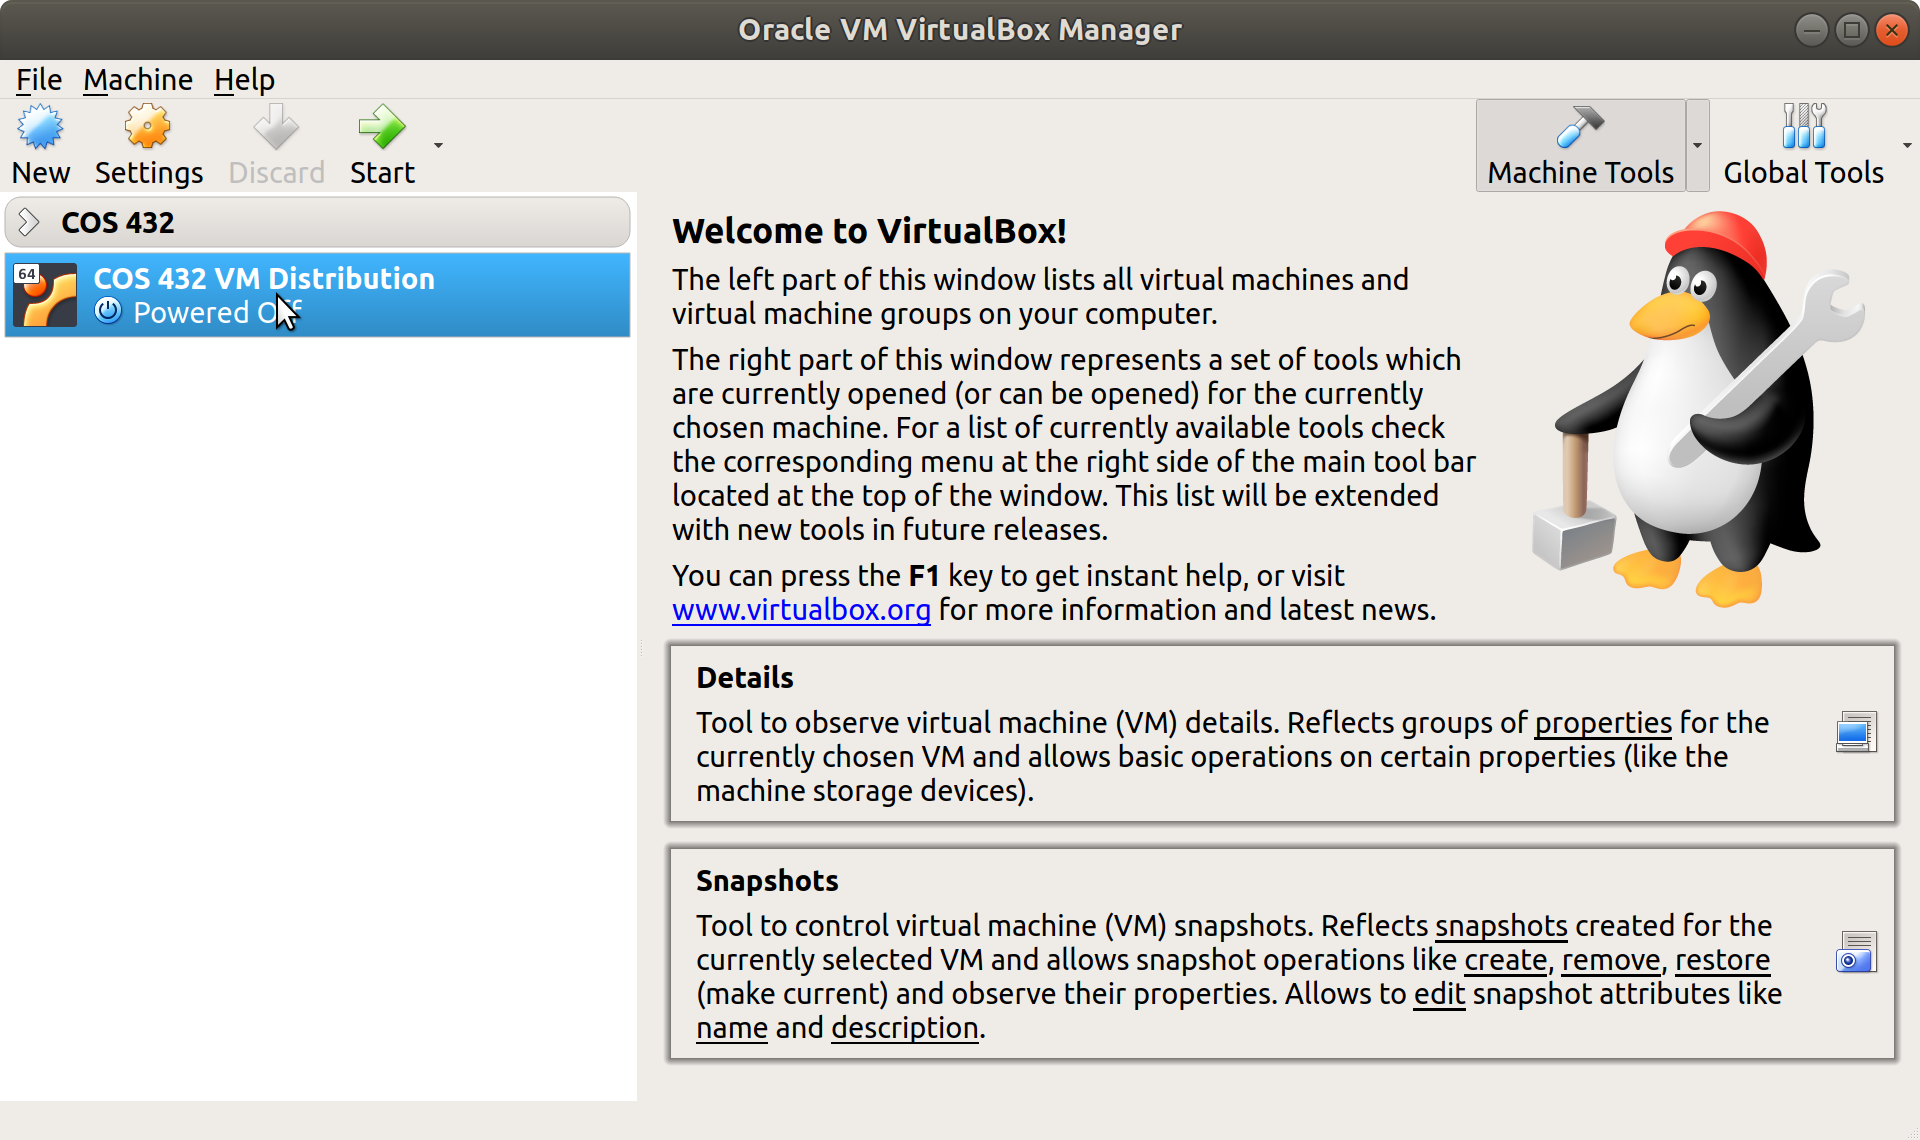
- Click Settings
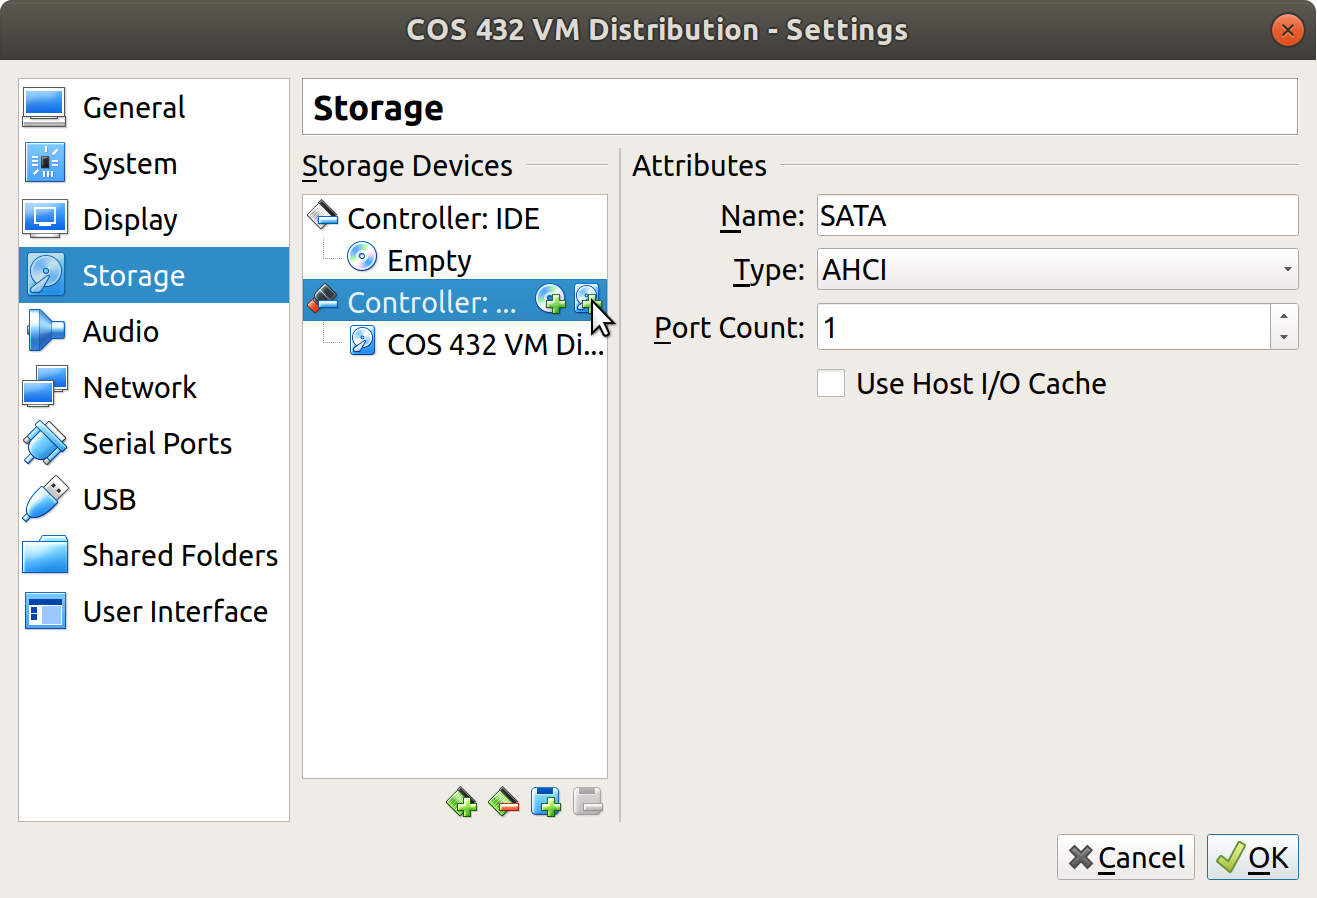
- Click Storage
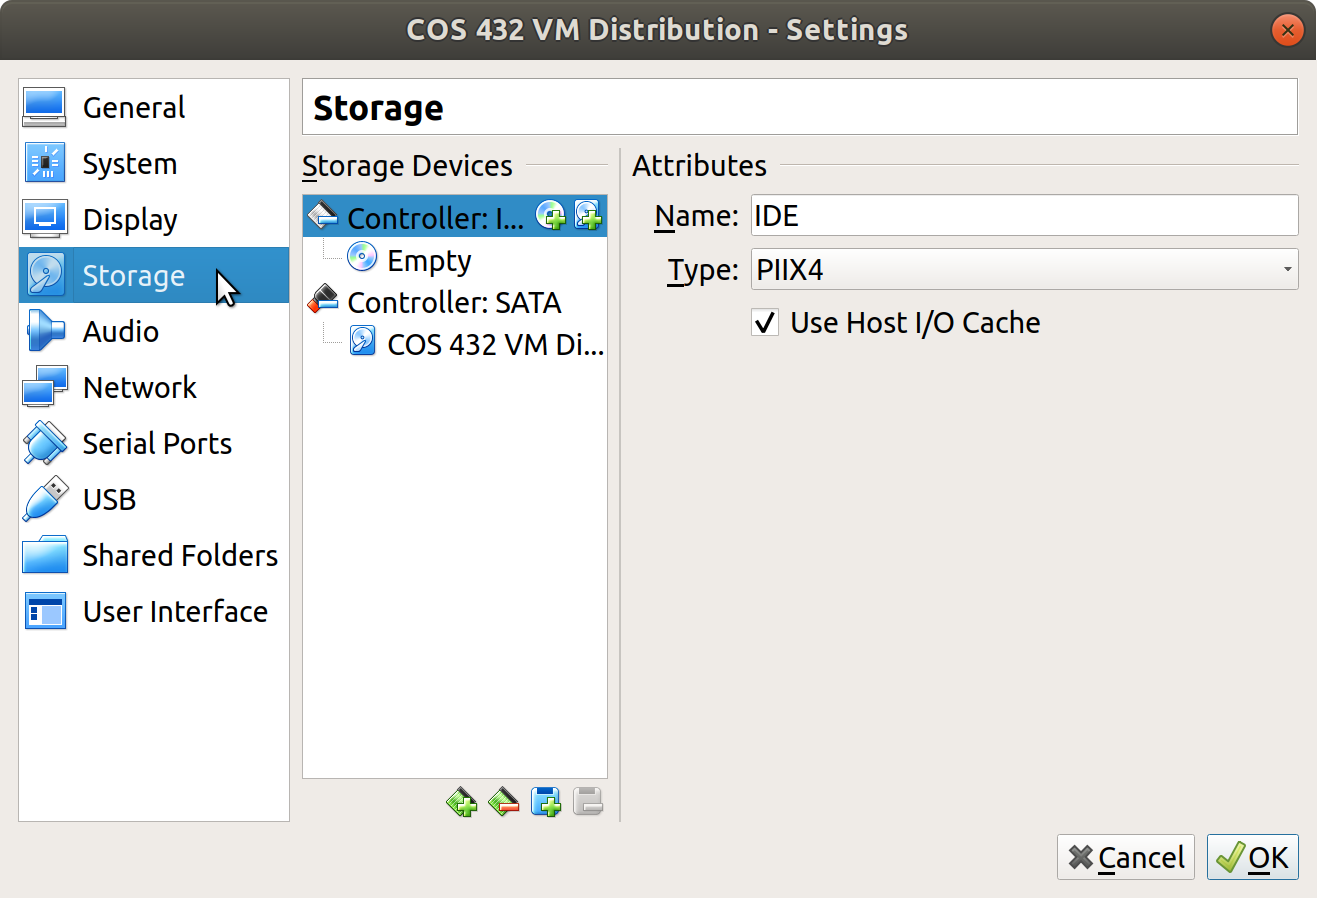
- Click the SATA Controller

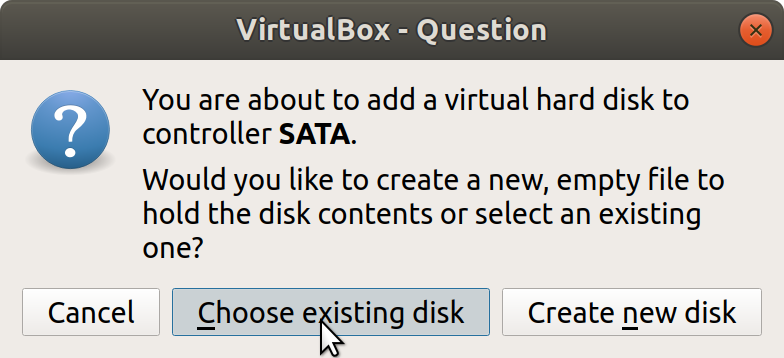
- Click the Add Hard Disk icon
- Click Choose Existing Disk
- Select the virtual machine disk (vmdk) you would like to analyze, i.e., the suspect’s imported virtual disk (which can be found in ~/VirtualBox/VMs/Forensics Release F2018) Click Open
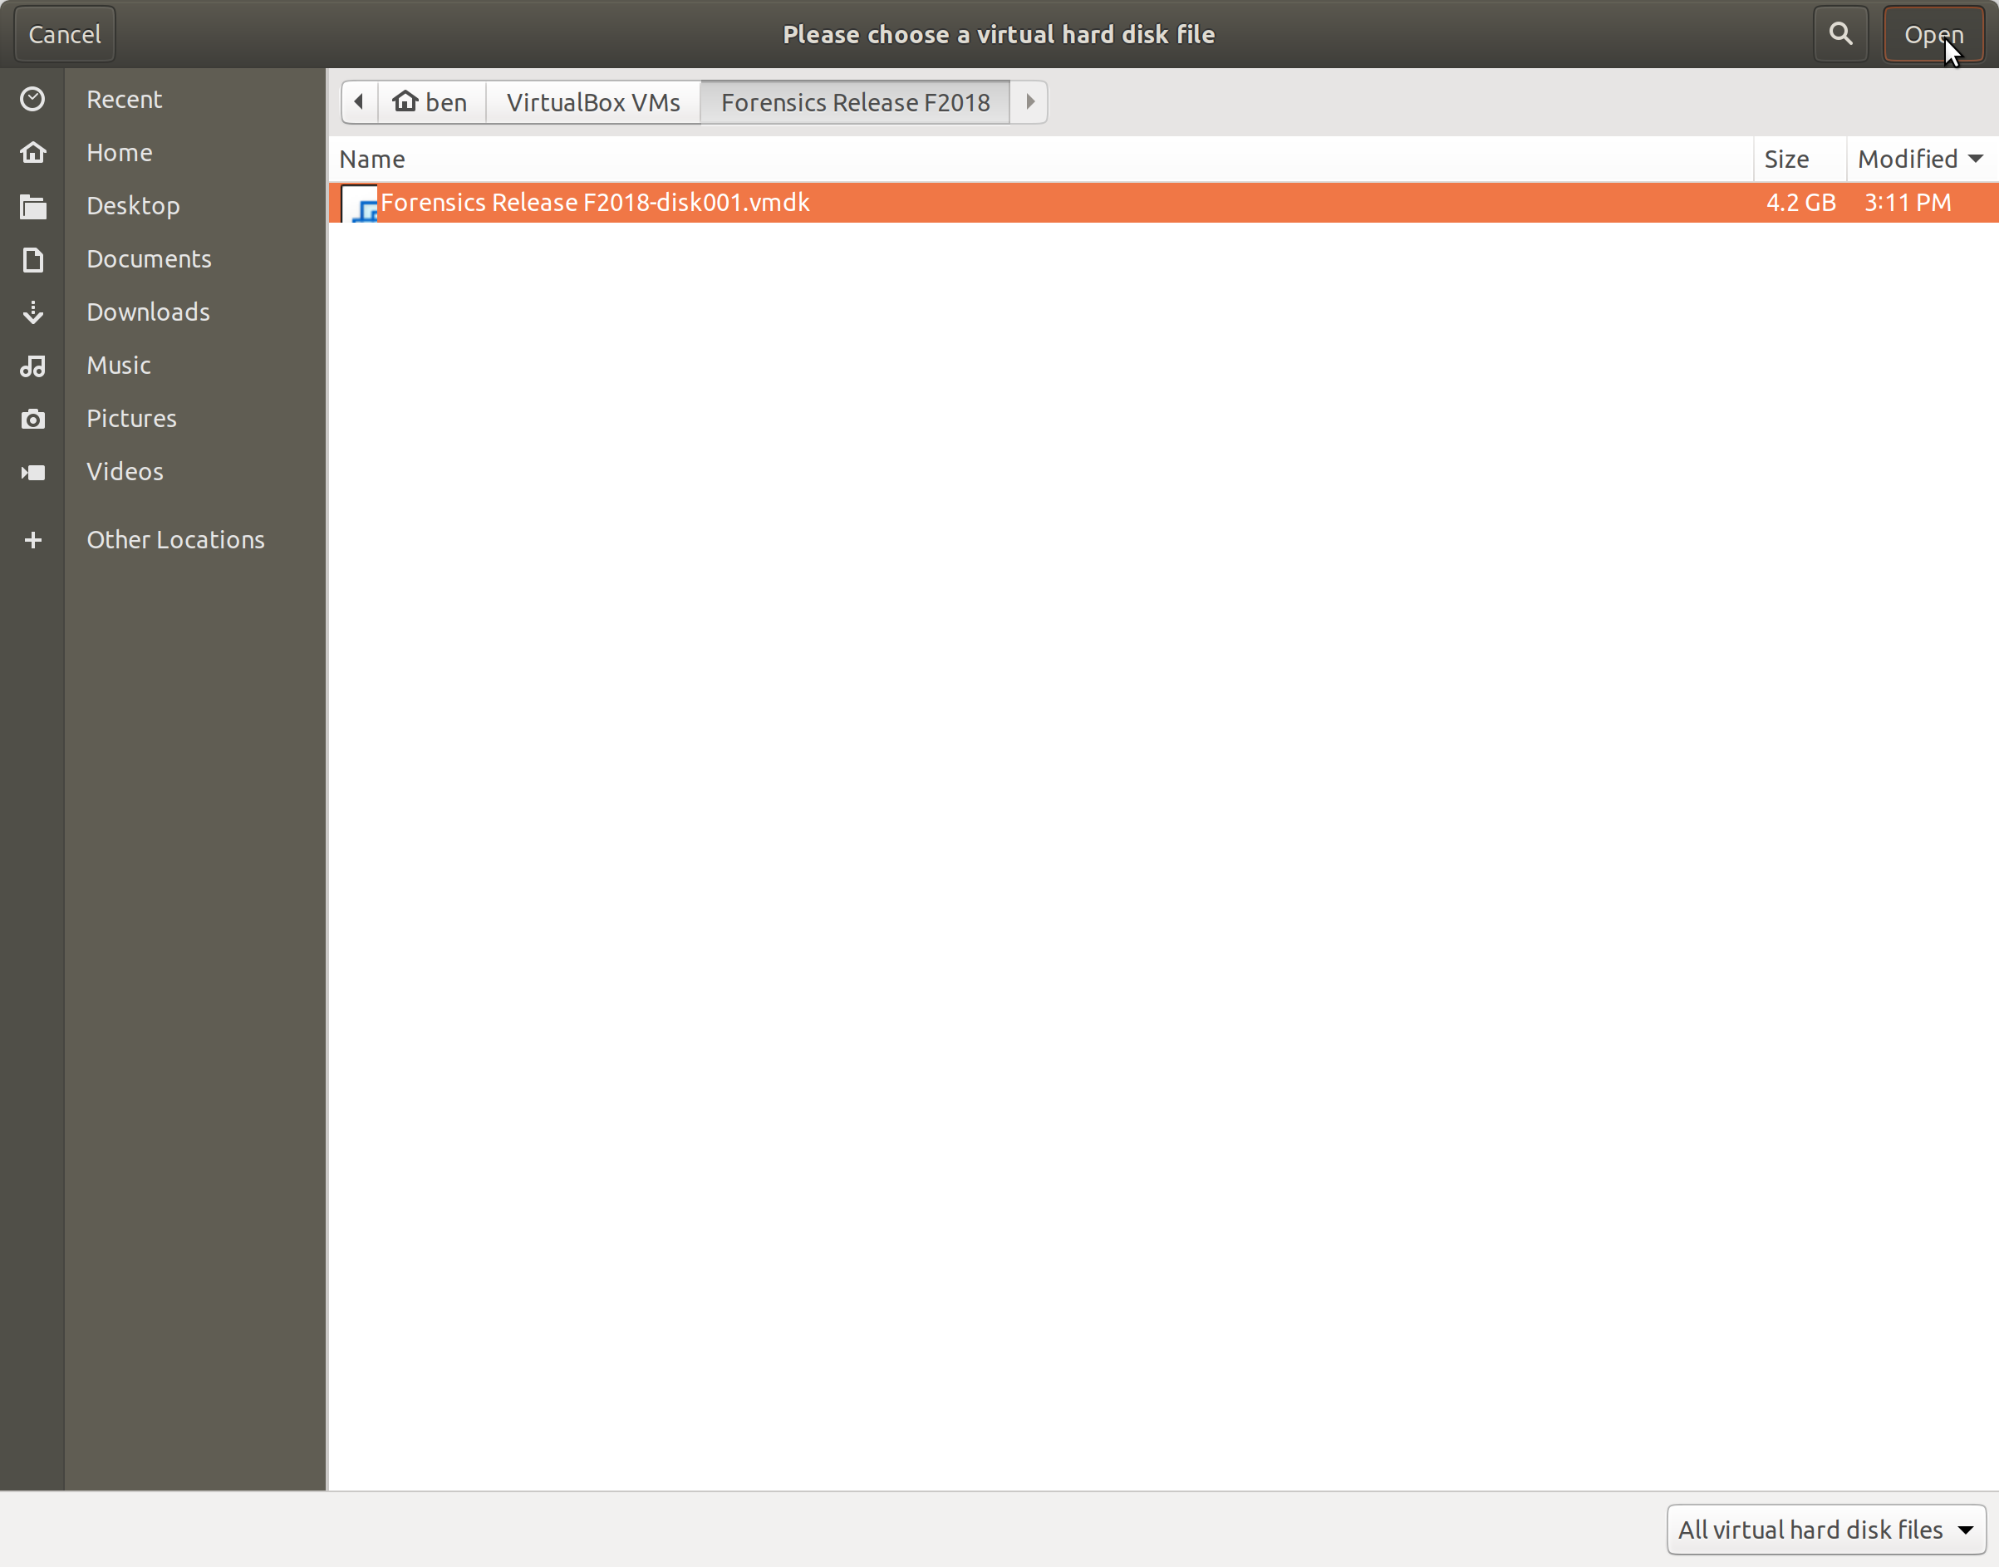
- Verify the correct virtual machine disk was added. Click Open
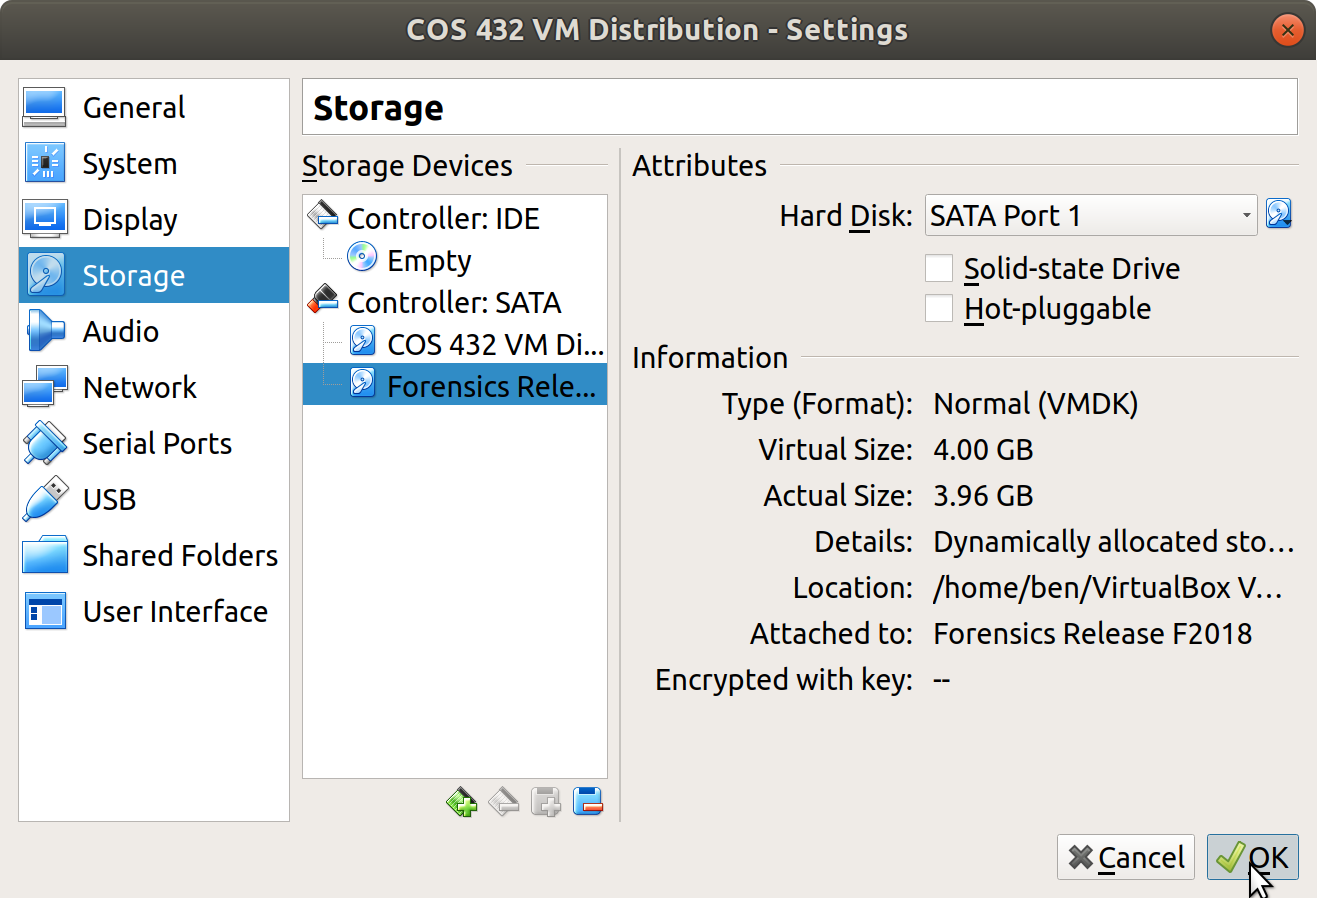
- Start the COS 432 Distribution VM and open a terminal
- Run
sudo fdisk -l
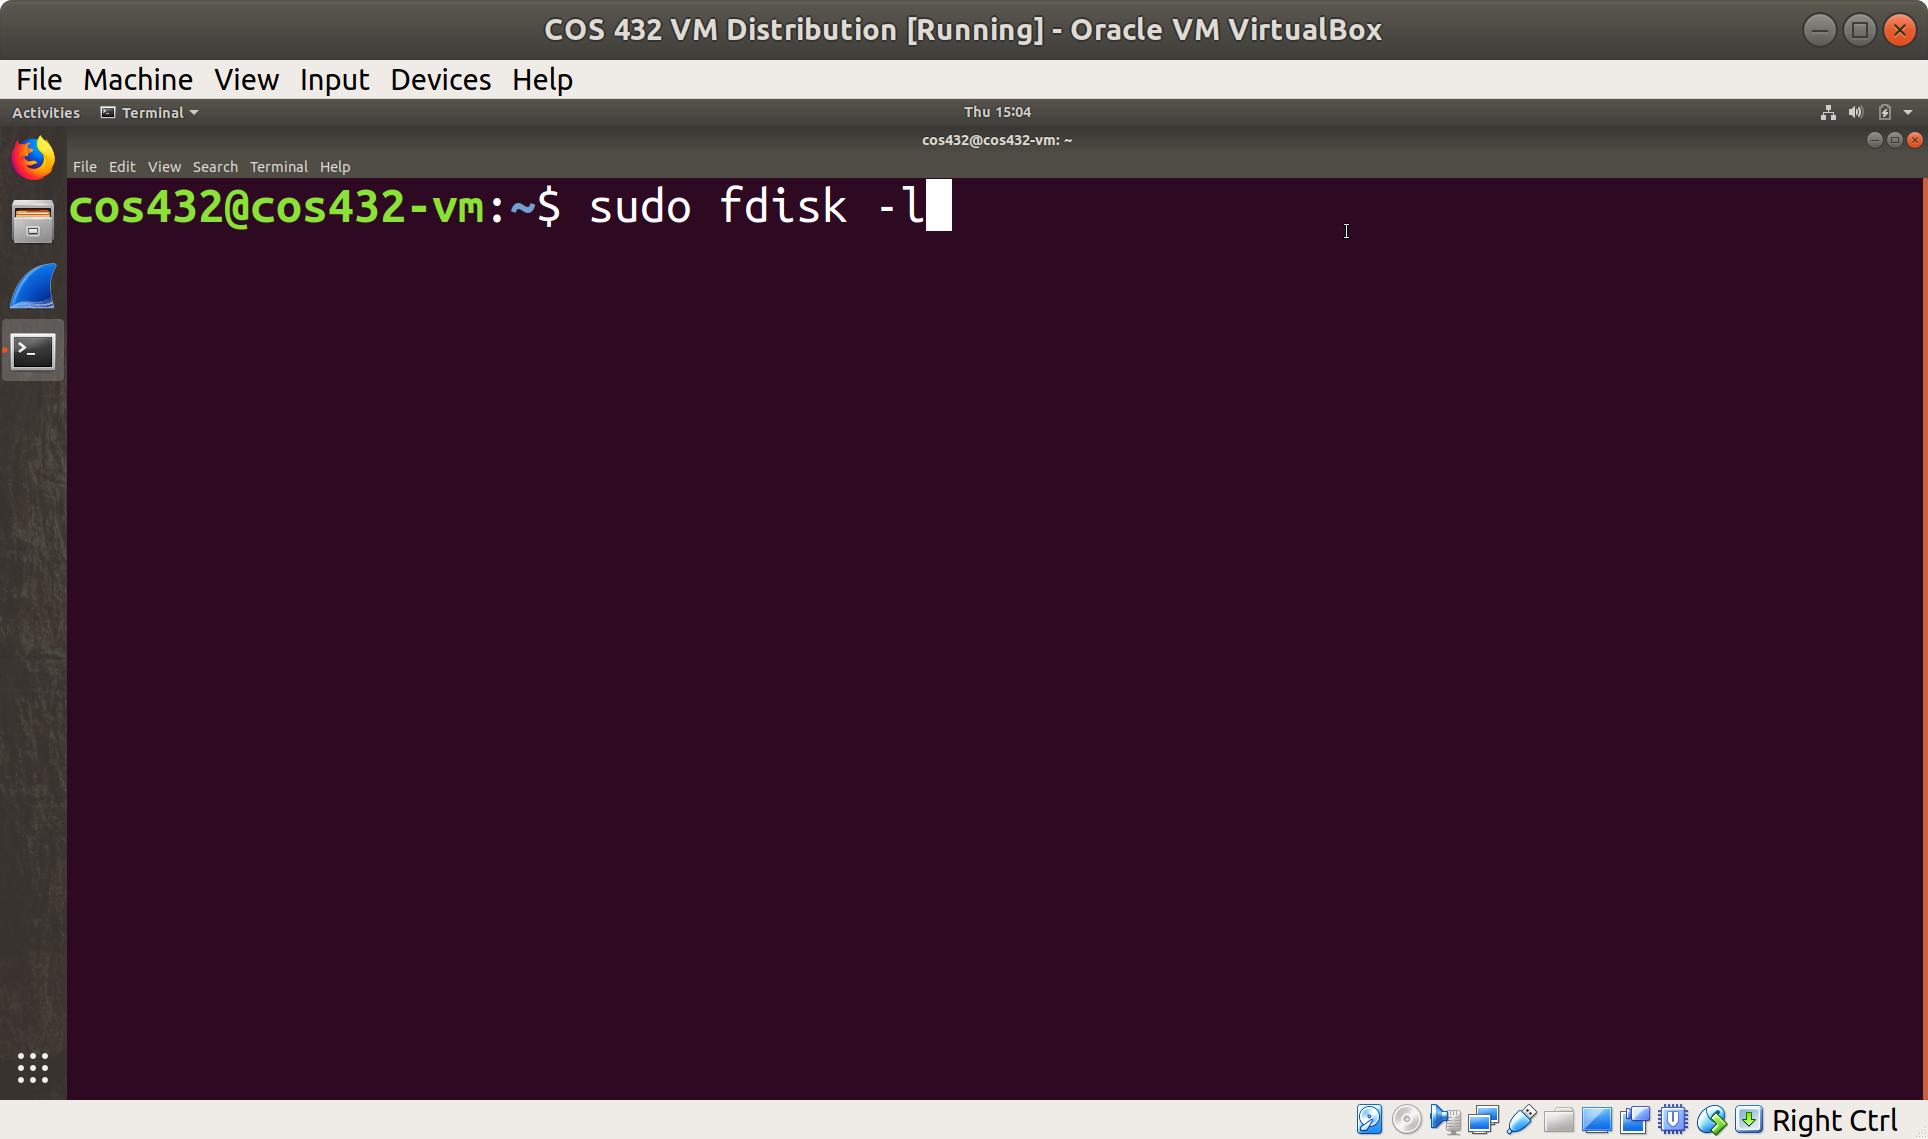
- Verify the second disk is displayed (
/dev/sdb)
- Attempt to mount a disk partition (
sudo mount /dev/sdb1 /mnt)

- View the contents (
ls /mnt)