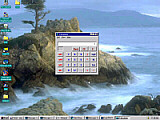
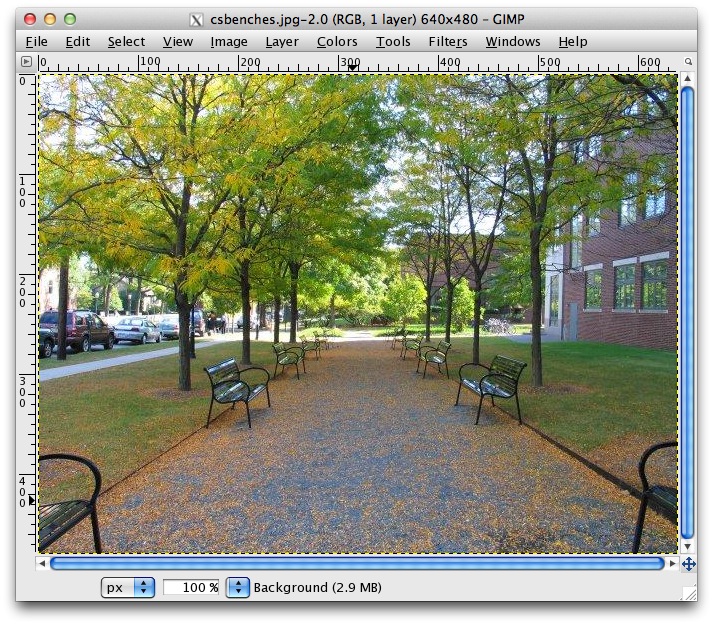
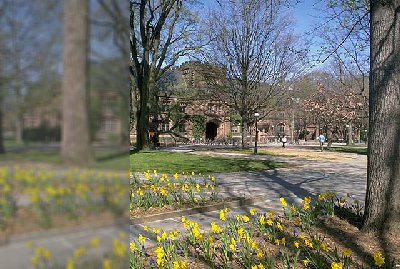
| The same screen at three different resolutions | ||
 |
 |
 |
| 1024 x 768 | 800 x 600 | 640 x 480 |
A note on submission deadlines: Labs are due Friday evening at midnight, unless you have asked for an extension ahead of time. We will grade what you put on the CS dropbox site by the deadline; you can continue to work on the version on your public_html as much as you like. Please make sure that the dropbox upload contains all the files that your lab needs.
This lab will show you how to make your own pictures and buttons, logos and background images for your web page instead of mixing and matching the ones you've found on the Web. The lab is meant to be very flexible about specifics, though there are particular tasks that you have to do. There are a number of graphics programs available, and you can use any or all of them to taste, since they all provide the same basic features.
Use whichever of these or others that you like. We won't be picky about details of what gets turned in, but do your best to submit what's asked for.
The text refers to Photoshop in regular black text. We have added red notes for GIMP. There will undoubtedly be glitches; please let us know about any serious problems. Thanks.And a big thank you to the 2011 TAs Tianqiang Liu and Taewook Oh for their work with GIMP and Photoshop instructions respectively.
Very Important: Material on other web sites may be subject to copyright, and there are both legal and University restrictions on what you can do with copyrighted material, including images and sound. The law is evolving in this area and copyright holders can be very aggressive in asserting their rights (and sometimes more than their rights). You should be aware of the University's policy on intellectual property rights.
In part, this says
"If you want to use an object or work, which may include an image, a background pattern, a section of text or a musical, film, television show, or video selection that you would like to use, you should make a good faith effort to determine that such use constitutes a "fair use" under copyright law or you must obtain permission of the owner or copyright-holder. As a general matter, you are free to establish links to Web pages you enjoy and which you would like to share with others. But you are not generally free to copy or redistribute the work of others on World Wide Web (or elsewhere) without authorization and proper attribution."
Accordingly, you should be especially careful of images or sounds that might be of commercial value to their copyright owners. If a site has an explicit copyright notice, you should not copy anything from it.
For purposes of this lab, and in creating other web pages, you should add a citation for each image or sound that you link to or copy; this is equivalent to citing sources of quotations in a paper. If there is any ambiguity about whether a sound or image is copyrighted, use a link, not a local copy. Of course if you use your own pictures, copyright is not an issue.
Part 1: How digital images work
Part 2: Creating your own images
Part 3: Using image filters
Part 4: Face pasting
Part 5: Creating image maps
Part 6: Submitting your work
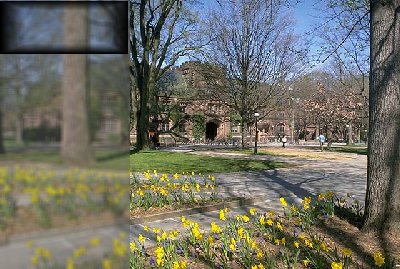
The computer's screen is divided into a large number of tiny dots of color called pixels ("picture elements"). These dots are so small that, to the human eye, they appear to make a continuous picture, but if you zoom in on any computer graphic, you will eventually begin to see the blocks of solid color of which the image is composed. To give you an idea of their size, the dot of an "i" is often represented by a single pixel.
A typical laptop screen displays at least 1024 pixels in the horizontal direction and 768 in the vertical, making almost 800,000 pixels. This figure is known as the resolution. A laptop screen or flat panel display shows a fixed number of pixels, so changing the resolution may show you fewer pixels without changing the image size or it may try to spread the image pixels over the screen pixels, which can cause fuzziness and distortion.
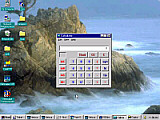
| The same screen at three different resolutions | ||
|
|
|
| 1024 x 768 | 800 x 600 | 640 x 480 |
Each pixel has its own color, typically represented by three values, one for red, one for green, and one for blue (RGB). These values control how much of that color appears in the pixel. Black would be all zeros, while white would have maximum values. Pure red would have just the red value raised to the maximum, while bluish-green might have the green and blue values set to half of the maximum, and the red value set to zero. A shade of gray has the same values for its red, green and blue components. All colors are represented by a combination of the three colors red, green, and blue.
In HTML, rather than use names for colors as described in Lab 3, you can also use the RGB definition of the color. Instead of using a color name in the color attribute of the font tag, use "#rrggbb", where rr represents how much red, gg represents how much green and bb represents how much blue. The values are in hexadecimal, so each hex digit ranges from 0 to F. This means that the range for each 2-digit color is 00 to FF, or in decimal, 0 to 255. For example
Most computers have video memory that holds the pixels that are displayed. For a fixed amount of video memory, there is a tradeoff between resolution and number of colors. For example, a display memory of 1 megabyte might have any of the following settings:
| 640 x 480 resolution | 307200 pixels | 3 bytes/pixel | 224 = 16,777,216 colors |
| 800 x 600 resolution | 480000 pixels | 2 bytes/pixel | 216 = 65,536 colors |
| 1024 x 768 resolution | 786432 pixels | 1 byte/pixel | 28 = 256 colors |
In the first case, each pixel requires 3 bytes of memory to store its color. In the second, 2 bytes are required and in the third, one byte suffices. But the third case involves more than twice as many pixels as the first.
The number of colors a display uses is known as its color depth. Color depth is also used to describe digital images. Unlike your screen, which has a fixed pixel-to-color relationship, images you create can usually be of any size and color depth. Ideally, you could always work with as many colors as possible, making photo-realistic images. Often, however, images which "use" 16 million colors will look the same even when displayed in 256 colors, because they're not actually using more than 256 of the 16 million available colors. Different image processing programs use different terms to describe color depth as well, like "true color" or "high color" that don't really say what they are.
Since large pictures take up more disk space and load more slowly, you may want to experiment with your images and see how few colors you can get away with while preserving adequate image quality.
There are other ways to make image files smaller. An image may originally be represented as a bitmap, which uses a small fixed number of bytes for each pixel. This preserves the image perfectly but takes much more space than is necessary. Since most images have large blocks of constant color, we can use that information to group pixels and store less information about them. If there are 100 blue pixels in a row, it's more efficient to remember "100 blues" than to remember "blue, blue, blue, ..., blue, blue".
Taking advantage of pixel similarities to reduce the stored information is an example of compression. You will not need to worry about the specific techniques used to compress files. Instead, you can use two file formats which do this automatically.
| Transparent | Not Transparent |
 |
When you save an image as one of these types of files, use "Save As..." and choose GIF or JPG as the format.
Be sure that you set the file format to JPG or GIF before you save the file. Do not use the .psd extension that is the default in Photoshop.
There are many other image file formats. TIFF, the Tagged Image File Format, is often produced by cameras and by the Grab application in Mac OS X. TIFF may provide lossless compression, but generally TIFF files are compressed. Another common format is PNG (Portable Network Graphics), which combines features of GIF and JPG: it is lossless, but allows for many more colors. Many images on Wikipedia are PNG.
GIF format works well for images with a restricted number of colors but not for photos with lots of colors. Perhaps surprisingly, JPG is good for photos but not so good for solid blocks of colors, since the compression process can introduce visible artifacts like ripples.
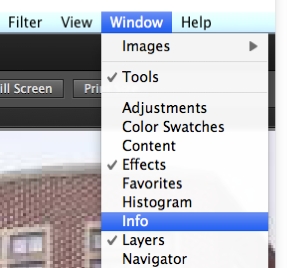
To create and edit images, you must use an image editor like Photoshop or GIMP. Image editors have lots of menus with lots of sub-menus. They usually display one or more large canvases with a palette of tools. Choosing a paintbrush and dragging it onto the canvas works much like painting in real life. Choosing the paint bucket and clicking on an area will fill it with the current color. There are erasers and air brushes for retouching, features for resizing and reshaping and recoloring, and ways to add text as well. This lab is meant to encourage you to experiment with these options.
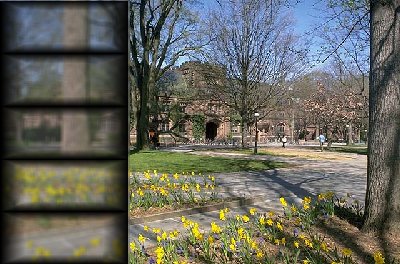
Once you have drawn an image, you may wish to play with image filters. These can be found on the Filters menu in Photoshop and GIMP. These image filters (e.g., Sharpen, Emboss, etc.) will examine and possibly change each pixel in the image. The Sharpen filter, for example, looks for edges (places where the color changes dramatically) and enhances those.
| Blurry image | After Sharpen |
 |
 |
Many filters only work on images with 16 million colors (24-bit color). This is usually because they make subtle color changes to the image and need to use many different shades.
Now it's time to experiment with some images. The pictures in this section illustrate Photoshop and GIMP; if you're using another program, read this for the general idea, then find the equivalent mechanisms in your program.
When you start the program, you should see a large window with toolbars and an empty gray area in the center. This center area is where your images will appear when you edit or create them. This image shows Photoshop:
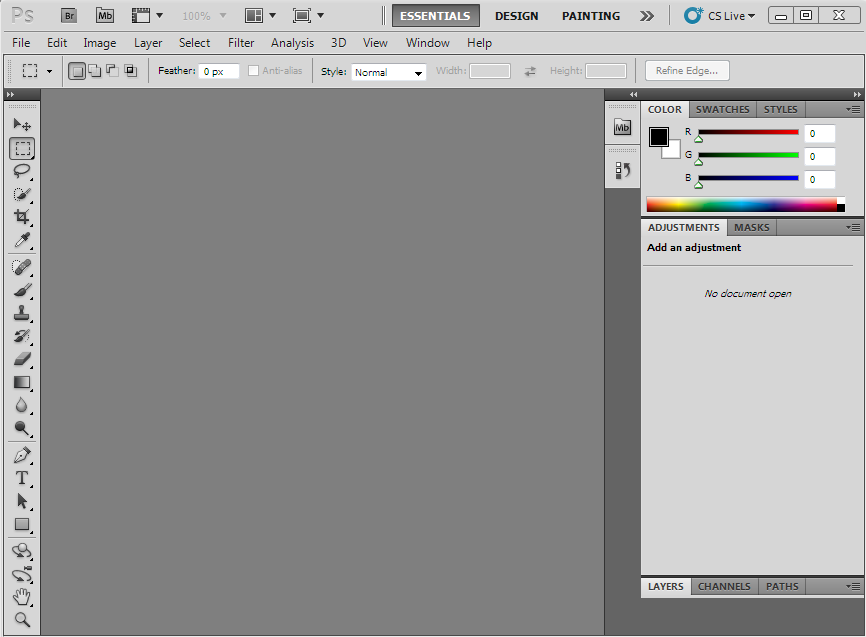
To the left are a dozen or more tools; mouse over them to see what they do. On the right is a color selector. By clicking on the color you wish to use in the palette, you can cause it to be the foreground color. This is the color that will be used when you draw with the paintbrush. By right-clicking, you can adjust the background color, which is the color used for fills and some other changes.
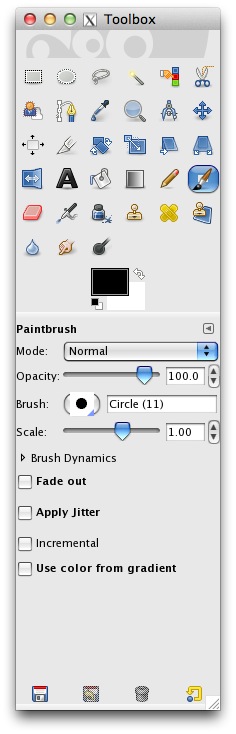
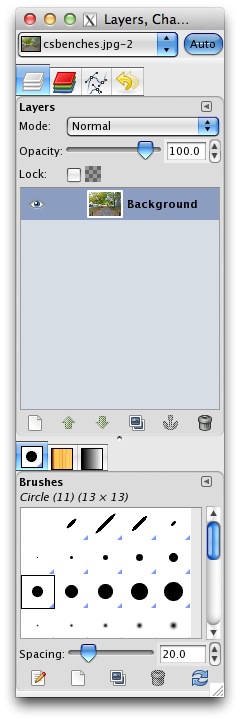
If you are using GIMP (we're using GIMP 2.6.10 as an example), you will probably see three windows instead of one. There is a window named 'Toolbox', where you can find a dozen often-used commands. You can also see a window with a menu bar on it, which is where you can see images later. The third window is for manipulating layers, which will not be used in this lab.
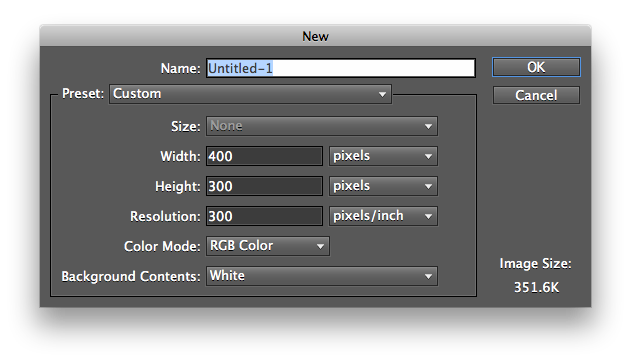
Start a new picture with New:
 (Photoshop)
A large window should appear, filled with the background color you chose. This large area is your canvas. Using the different tools available, you can paint on it with the mouse.
If you are unsure what a particular tool does, hold the mouse over its button. If you make mistakes, just choose "Undo" from the Edit menu to undo your last action.
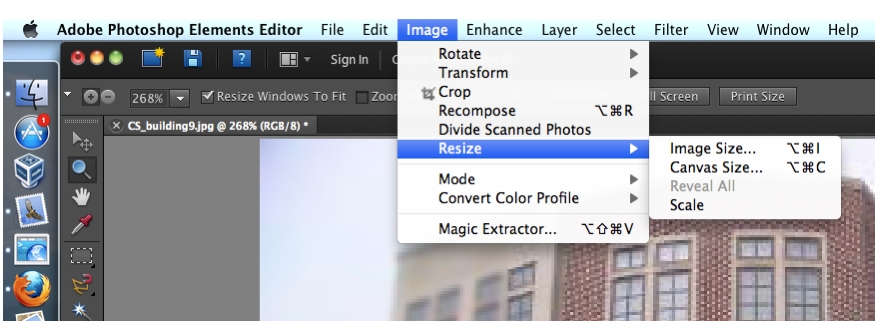
To shrink or enlarge an image, choose Image / Image Size. (In GIMP, use Image / Canvas size.)
This should change your picture to a new size with the same aspect ratio. If it doesn't then it is likely that your picture got stretched or squeezed in one dimension. Photoshop links the height and width automatically, so this won't normally happen. (GIMP has a lock to preserve aspect ratio.)
Unlike resizing, cropping an image will make it smaller by cutting off the edges. Click on a selection tool (dotted-line box, lasso, or quick select). Click on a part of the image and drag to create a box. Select "Crop" from the Image menu (or use the crop tool). Everything outside that box should have been removed from your picture.
Finally, you can change the picture back to its original size without enlarging the part you have drawn. Choose Image / Canvas size and choose a new size. This should increase your drawing area. The new space is filled with the current background color.
You can do this analogously in GIMP. You can shrink or enlarge the canvas by setting "canvas size" from the image menu. However the canvas size is not exactly the same as the image size. Sometimes you need to use "Layer to Image size" from the Layer menu to fill the new space with current background color.
If you are saving your file as a JPG, check the current compression rate:

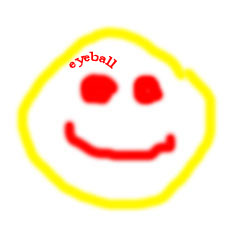
You don't need to create a high-quality image in this part, though you should try to do better than this pathetic effort:
To best experience the image filters, you will open and edit a real photo image now.
The image should show up in its own window within the main window. As before, adjust the Zoom Level to your preference. (If the control is not there, click on the magnifying glass to make it appear.) Notice that you can edit and resize this image in exactly the same way as you did with the other image you just created.
Now we're ready to try the built-in image filters, which are on the Filter menu.
| Try at least 3 of the filters and save the results as different files using the "Save As" option. You will be submitting these images at the end of the lab. |
If you're interested in how filters work, try creating your own.
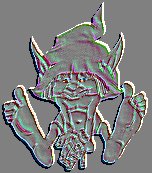
Try to figure out which filters have the following effects:
 |
 |
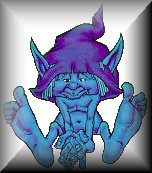 |
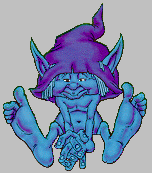
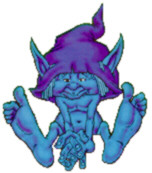
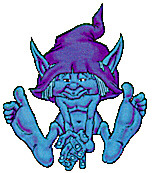
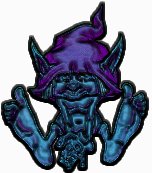
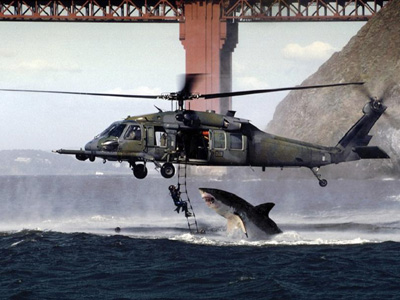
Ever wonder how the tabloids are able to get front-page photos of Elvis and the president shaking hands? It's called photo-retouching and one of its most entertaining applications is face-pasting. Using graphics tools, you can cut someone's head out of one picture and paste it onto to the body of someone else in another picture, or do other merging of picture components. Here's an example from a COS 109 student a couple of years ago:
| Original | New and improved |
|---|---|
 | 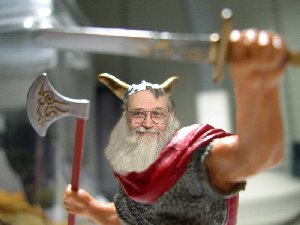 |
Editing isn't limited to faces; here is a faked image of someone about to have a very bad day. For more Photoshop entertainment, check out Photoshop Disasters.
| Find an interesting picture somewhere and paste pictures of yourself and/or your friends and/or someone or something noteworthy into the picture. Blend your picture in with the background as well as you can; we'll be looking for a good job. Save both the original images and the final product for submission. |
Be sure to save often. You will probably invest a lot of effort in this, so don't let some random problem destroy your work. At the end of the lab, you will need to submit this image.
Here are a few tips:
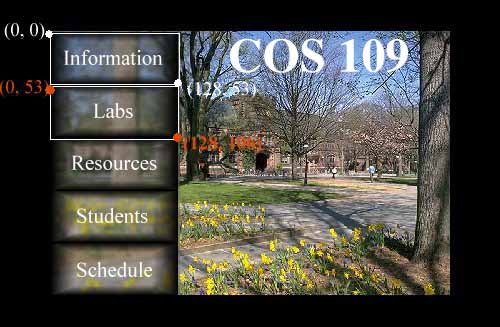
Image Maps are images included in web pages which have different clickable parts that link to different places. Try out the following image map:
Right-click on the above picture and choose "View Image". You will see that the whole thing is one picture (even the buttons). Basically, to create a picture, you must create an image with a bunch of different rectangular parts that look like they should lead to other pages. Then, inside your HTML file, you can specify which areas of the picture link to which pages.
Before you start creating your own image map, look for a few examples on the Web. Any time you can click on different parts of a single image in order to go to different pages, that is an image map. The web sites of large corporations often have image maps.
For our example below, we chose one picture and then created rectangular sections within it. Review this example and then
| Create your own image with several rectangular pictures or areas which could lead to different links. Save it to your public_html directory as a GIF or JPG file. |
Do not make a picture that looks exactly like this one. Design your own image map!
To make your image map work, you need to know the pixel coordinates (x, y) of the top left corner and the bottom right corner of each box that you wish to make into a link. Below, we've shown a few of the values for the rectangles in our example:
To find the coordinates of the boxes in your image, do the following:

For reference, here are the pixel values for OUR example:
Once you've created the image and found the coordinates for each box, you need to put all of that information in your HTML file. Look at our example and then follow the instructions to write the HTML code for your the image map you are creating.
For our example, we used essentially the following HTML code:
<IMG SRC="im6.jpg" USEMAP="#imagemap">
<MAP NAME="imagemap">
<AREA SHAPE="rect" COORDS = "0, 0, 128, 53"
	HREF=http://www.cs.princeton.edu/courses/archive/fall11/cos109/>
<AREA SHAPE="rect" COORDS = "0, 53, 128, 106"
	HREF=http://www.cs.princeton.edu/courses/archive/fall11/cos109/#LABS>
<AREA SHAPE="rect" COORDS = "0, 106, 128, 159"
	HREF=http://blackboard.princeton.edu>
<AREA SHAPE="rect" COORDS = "0, 159, 128, 212"
	HREF=http://www.cs.princeton.edu/courses/archive/fall11/cos109/lab2pages.html>
<AREA SHAPE="rect" COORDS = "0, 212, 128, 265"
	HREF=http://www.cs.princeton.edu/courses/archive/fall11/cos109/#sched>
</MAP>
First, we include the image with the IMG tag just like any other image, except that we tell the browser where to find its map (with the attribute USEMAP). Then we use the MAP tag to start a map section called "imagemap". Next, for each box, we include an AREA tag with the shape, coordinates and appropriate link. Finally, we close the MAP tag with </MAP>
<IMG SRC="myimage.jpg" USEMAP="#MyImageMap">
This will display your image just like any other image you have included in your web page. The USEMAP attribute, however, will let the browser know that this image is an image map and will tell it where to find the information it needs to make all of the links inside it work properly.
Once you have placed the image, you need to include a section somewhere within the HTML file that contains that mapping information. Copy the following lines to your HTML file:
	<MAP NAME="MyImageMap">
	<AREA SHAPE="rect" COORDS="x1, y1, x2, y2" HREF="link.html">
	</MAP>
The first of these lines tells the browser that everything it sees until the </MAP> tag will be information about the links in an image map named "MyImageMap". The second line gives link information for one rectangle in your picture. Follow these directions to fill in information for all of your rectangles.
When you have filled in one AREA tag for each box in your picture, save your HTML file and open it in your browser to try out your image map. You should now have a working image map (which you will need to submit). If you are ambitious, you may want to create a more interesting image map with different shapes.
It is important to realize the difference between image maps and picture links. A picture link is simply a link that has a picture rather than text as the "clickable" region. With an image map, more can be done -- one can divide the image into sections, and treat each section separately. This cannot be done with a picture link. The similarity is that in each case, a "button" is nothing more than a picture, until the HTML tags are added to make it a link.
Finally, beware that there is a lot of syntax here. Be sure that you get the quotes, brackets, punctuation and cases right. If your image map doesn't work, it's likely that you got one of these details wrong.
Place all of your work online and accessible through a file called lab4.html in your public_html directory on cPanel.
|
|
Please do check all the links and all the buttons. If we can't read it, we can't grade it, and you can't get credit for it. Please use the proper filenames. When everything is working, then
Upload lab4.html (only) to the CS dropbox for Lab 4: https://dropbox.cs.princeton.edu/COS109_F2014/Lab4. Thanks.